Deploy and debug URCaps on robot - Remote debug
When developing URCaps, it’s important to test your work directly on the robot. This guide walks you step-by-step through enabling Remote debug, deploying URCaps, and using live updates.
Prerequisites
Before you are ready to operate the robot remotely, there are a few one-time setup steps you need to complete. Once these prerequisites are in place, you won’t need to repeat them for future sessions.
1. Enable SSH on robot
To enable Remote debug, your desktop needs access to the robot. That is done via SSH, which needs to be enabled on the robot.
Go to Settings
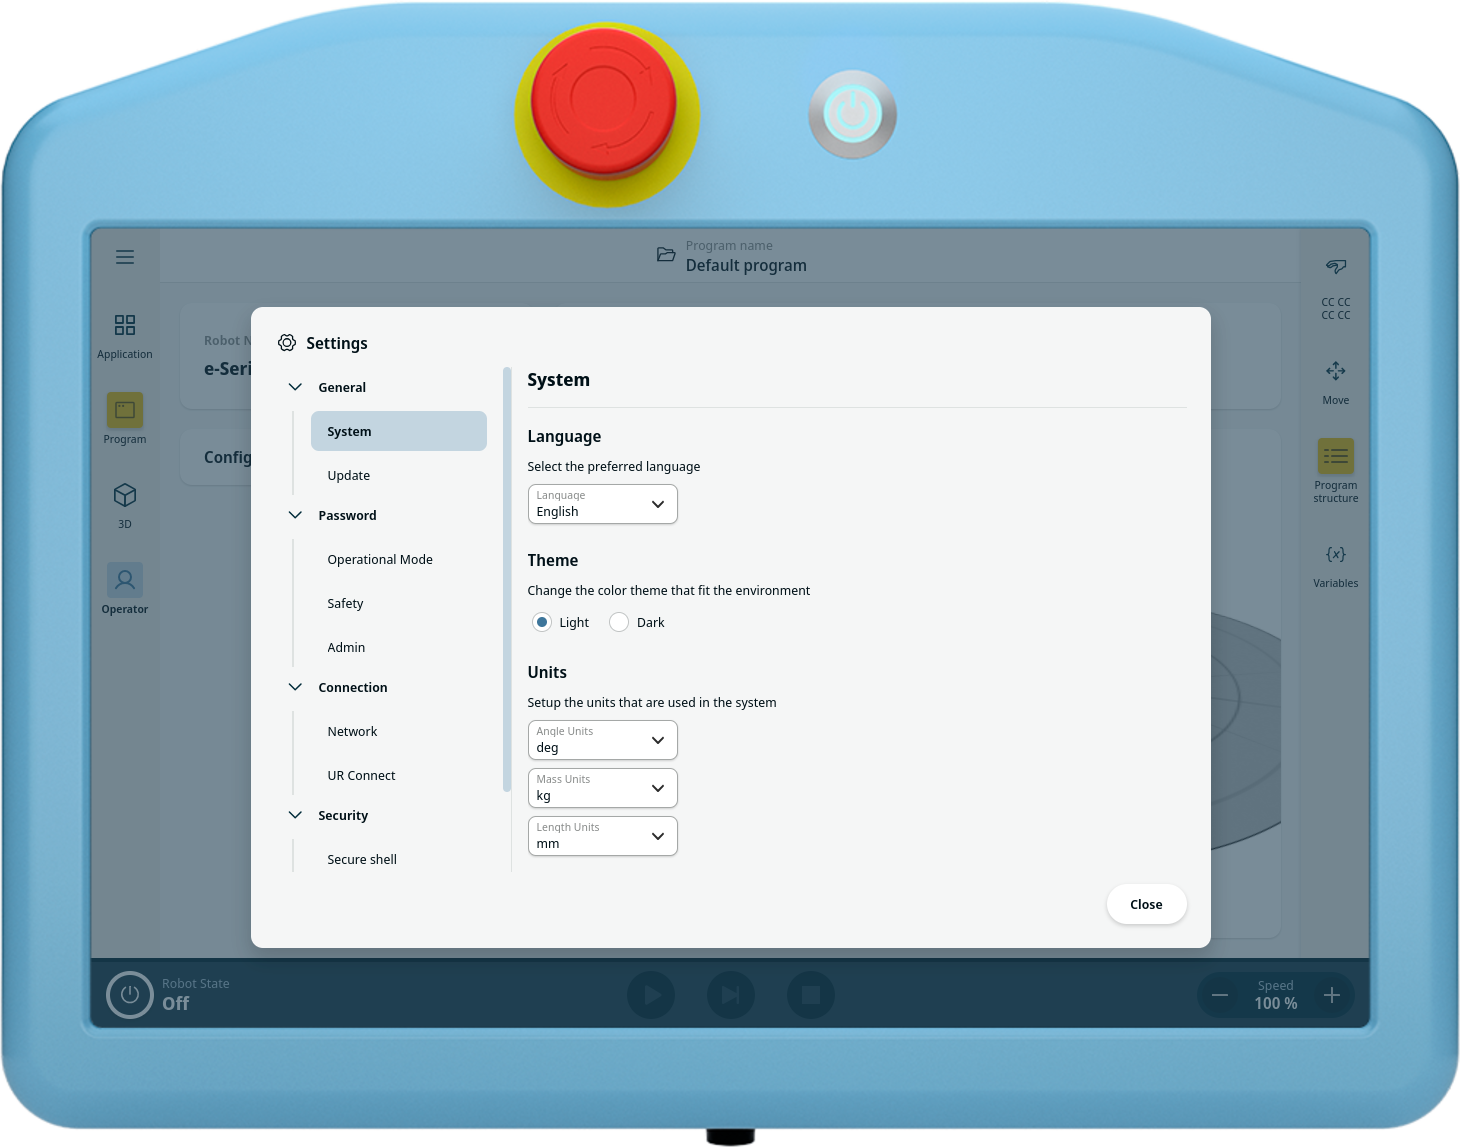
Select Secure Shell under Security
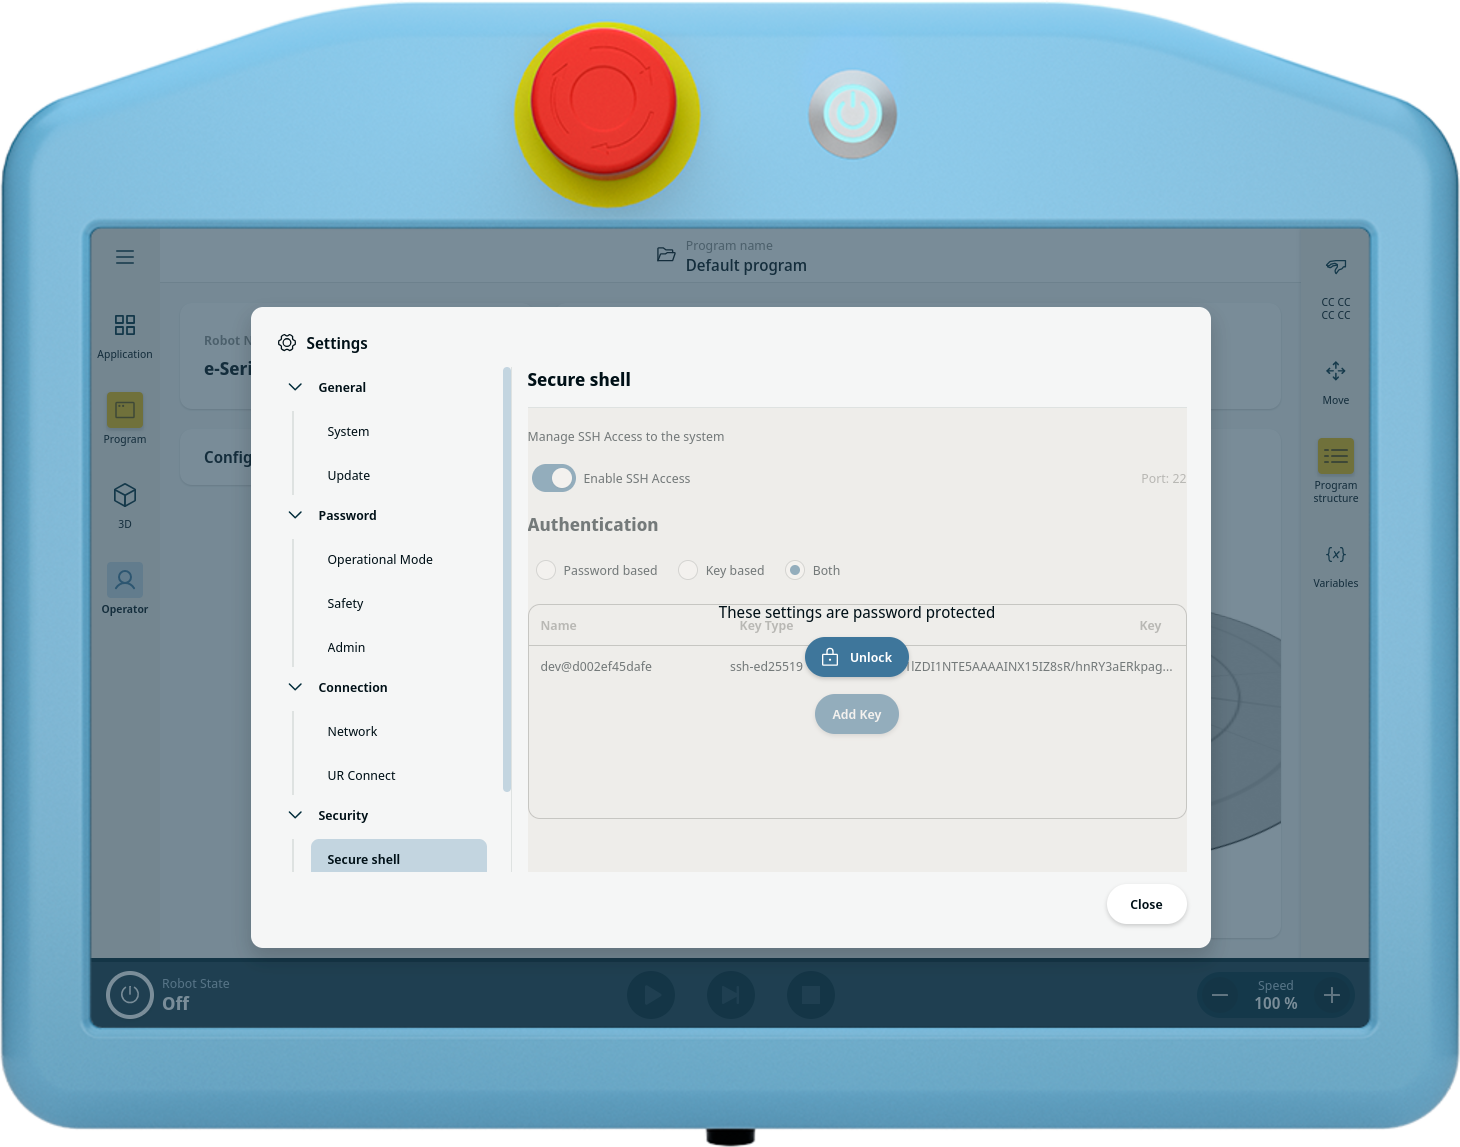
Unlock with the admin password
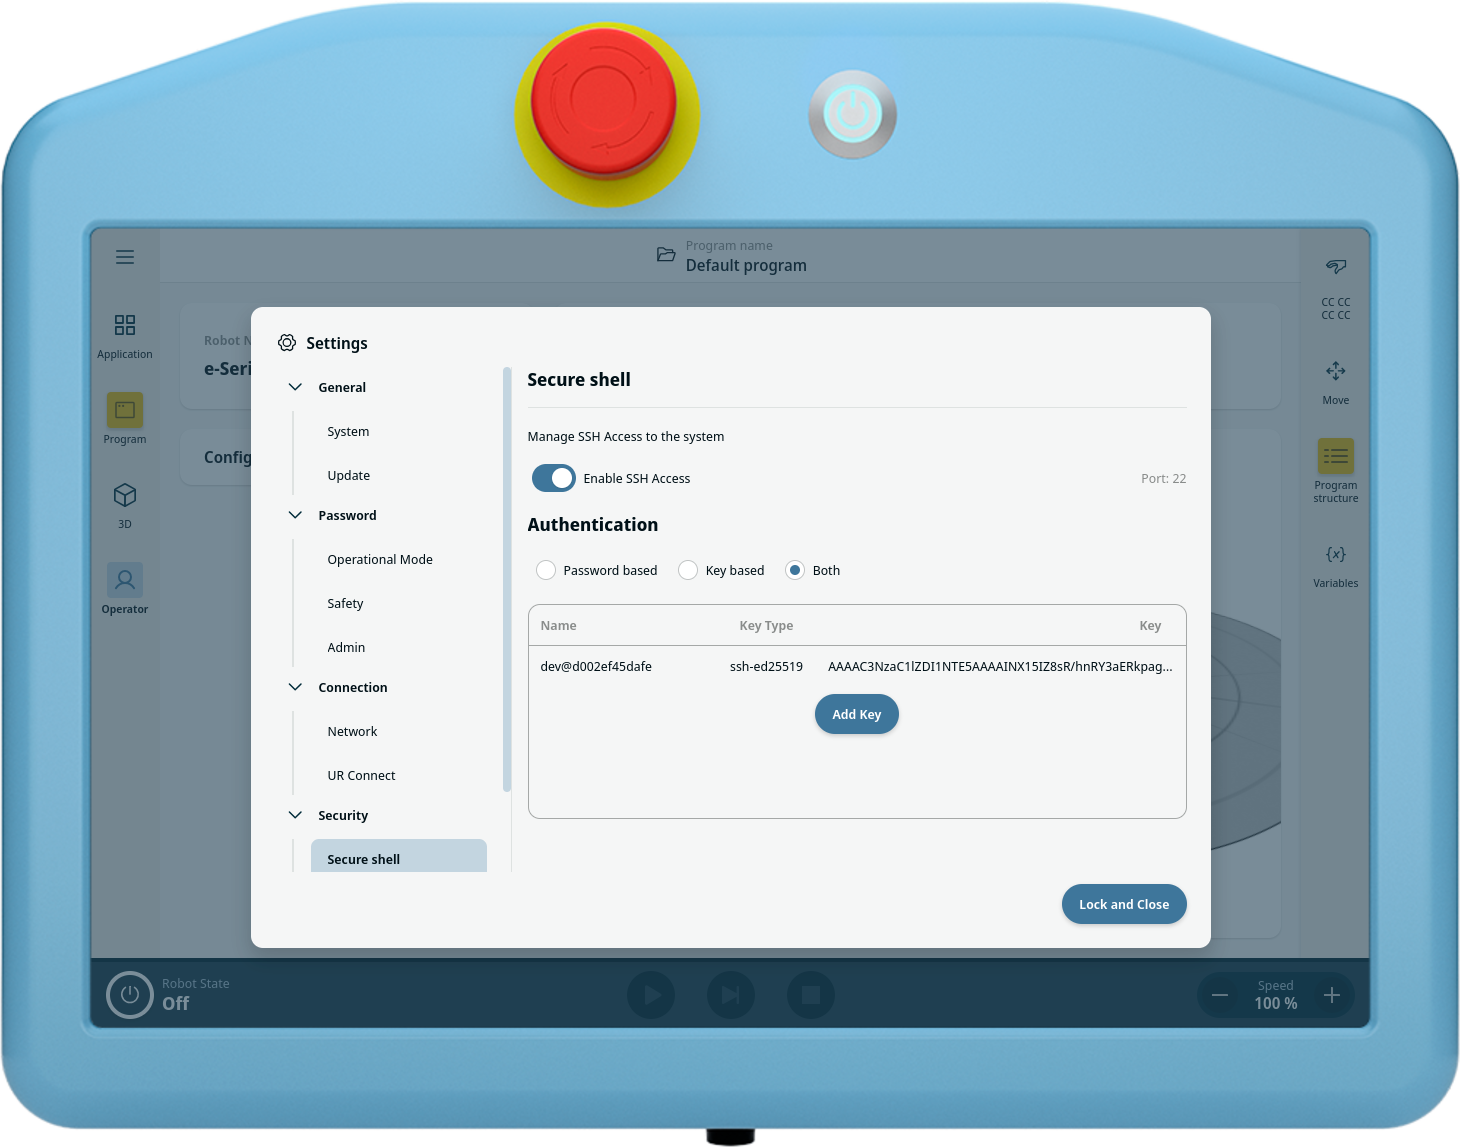
A SSH connection is utilized for the Remote debug. It needs to be enabled on the robot. It is advised to enable both password and key. The key will be generated from your desktop later, so there is no reason to add it now.
2. Wire the E-Stop
To comply with ISO 10218-2 you shall have a emergency stop next to you control station. So when you control it from your desktop, you shall wire an emergency stop button and place it there. Wiring is shown below:
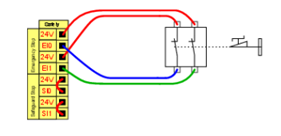
You can take a look at the Safety I/O section in the robot user manual for more details.
Enable Remote debug
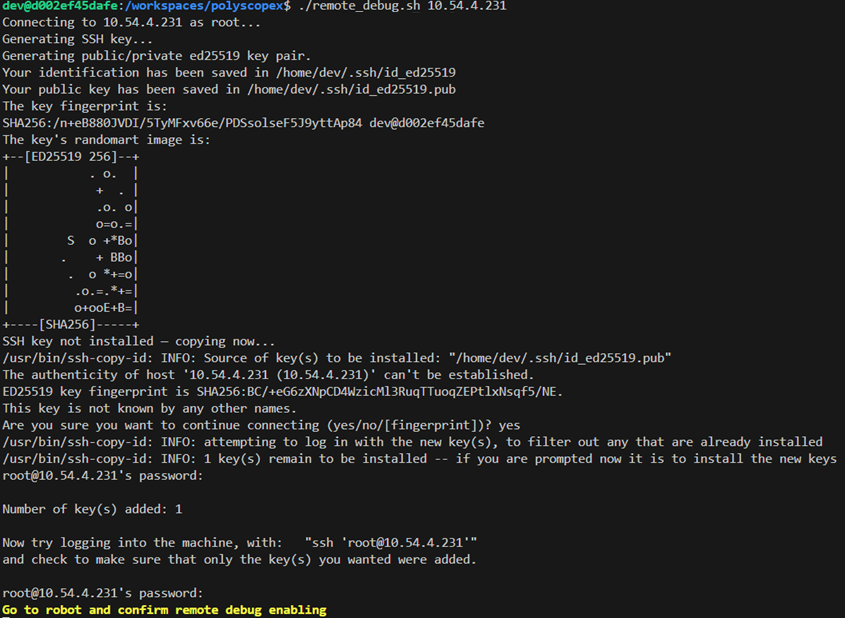
Now you need to return to your desktop to initiate the Remote debug. Inside the devcontainer, run the remote debug script:
./remote_debug.sh <ROBOT-IP>
You will first be prompted “Are you sure you want to continue connecting (yes/no/[fingerprint])?” You should either enter “yes” or the fingerprint of the key. Secondly, you will be prompted for the robot’s admin password. When that is entered you will see a picture like this:
 For following sessions you will not be prompted but just see an output like this:
 Now you should follow the instruction and go to the robot and press the
 Accept button
 The remote debug session is now active. You can press the
 Stop session button to end the session at any time.
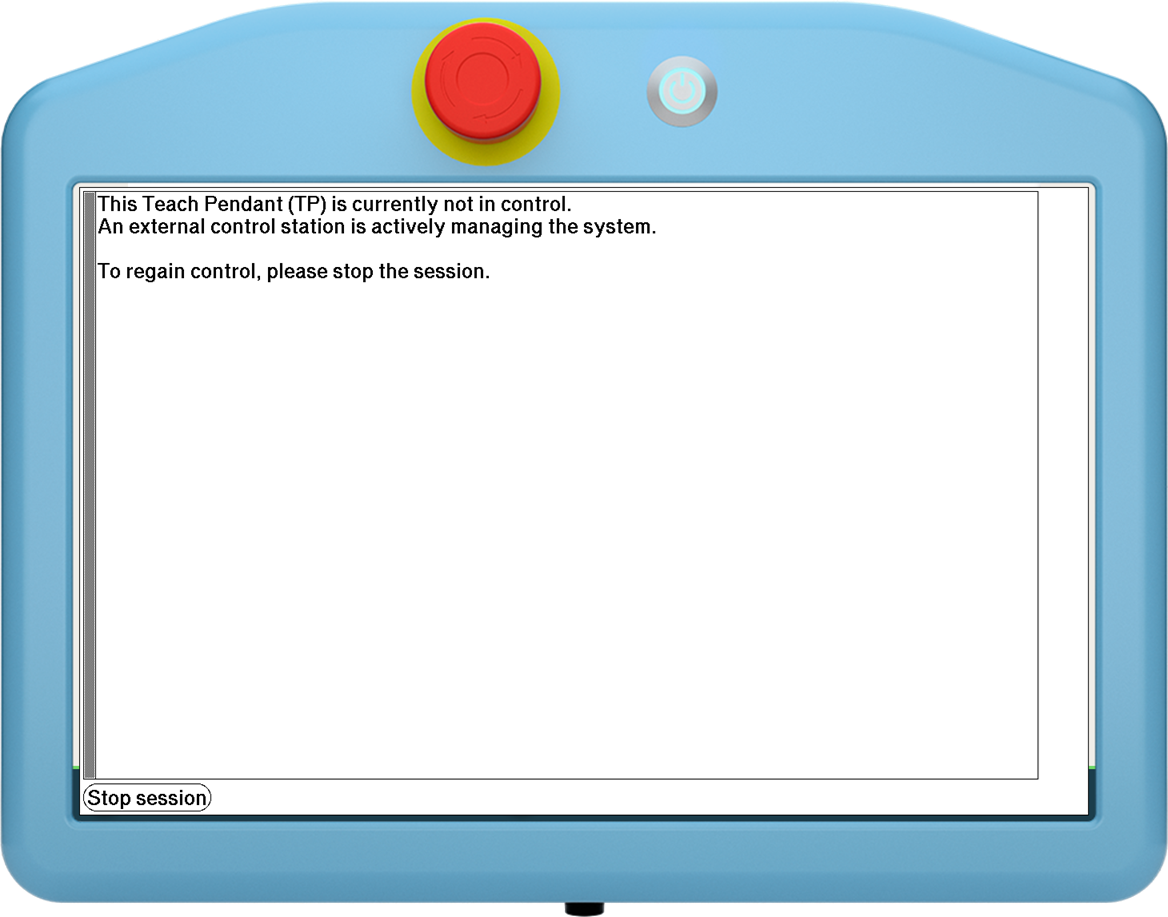 You can now go back to your desktop and control the robot from there.
Build & deploy URCap
Prepare PolyScope
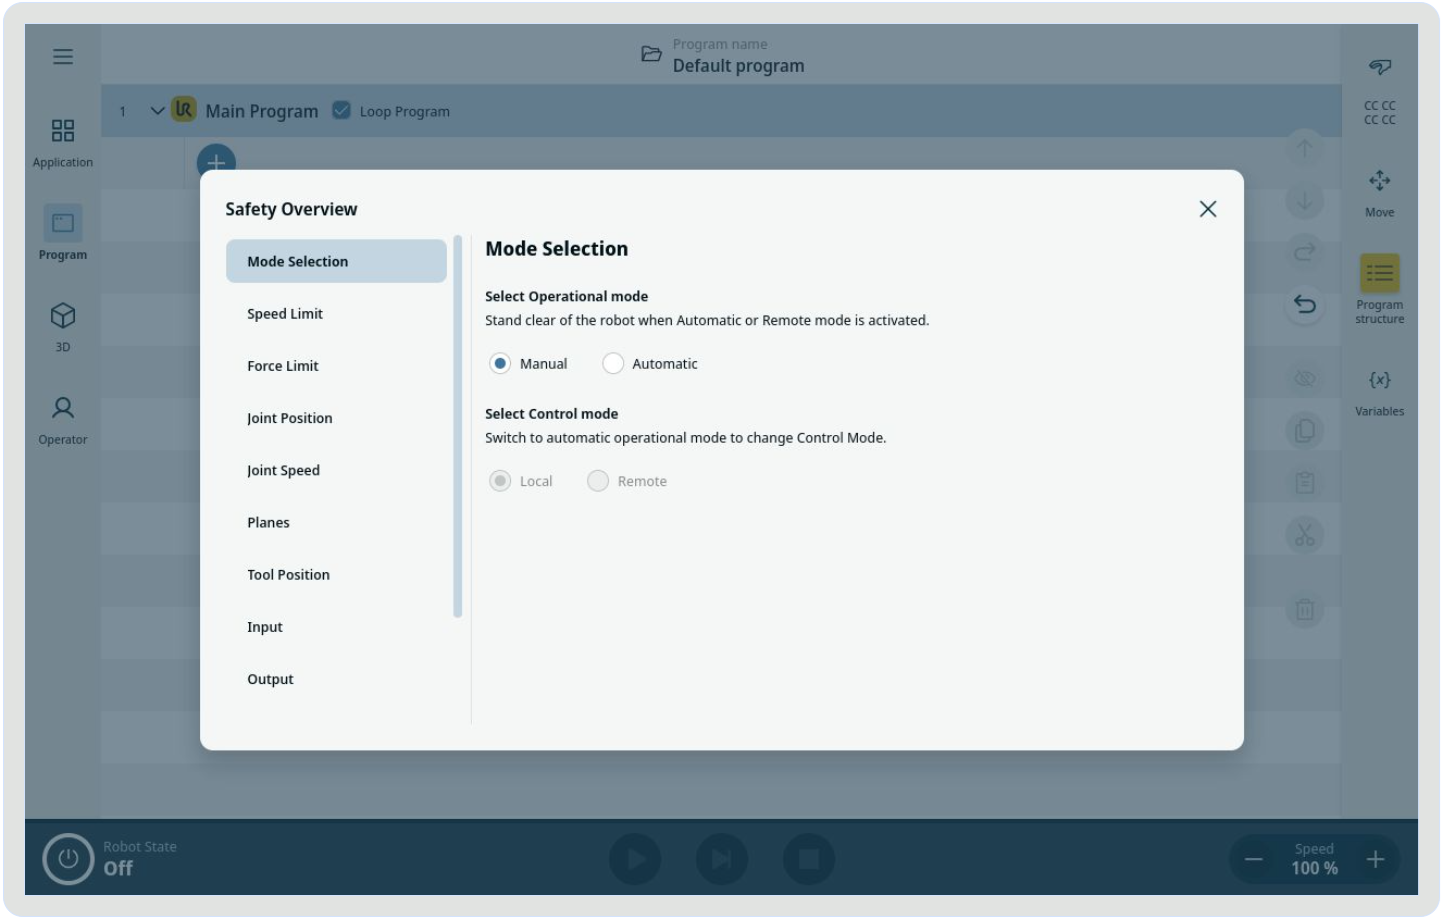
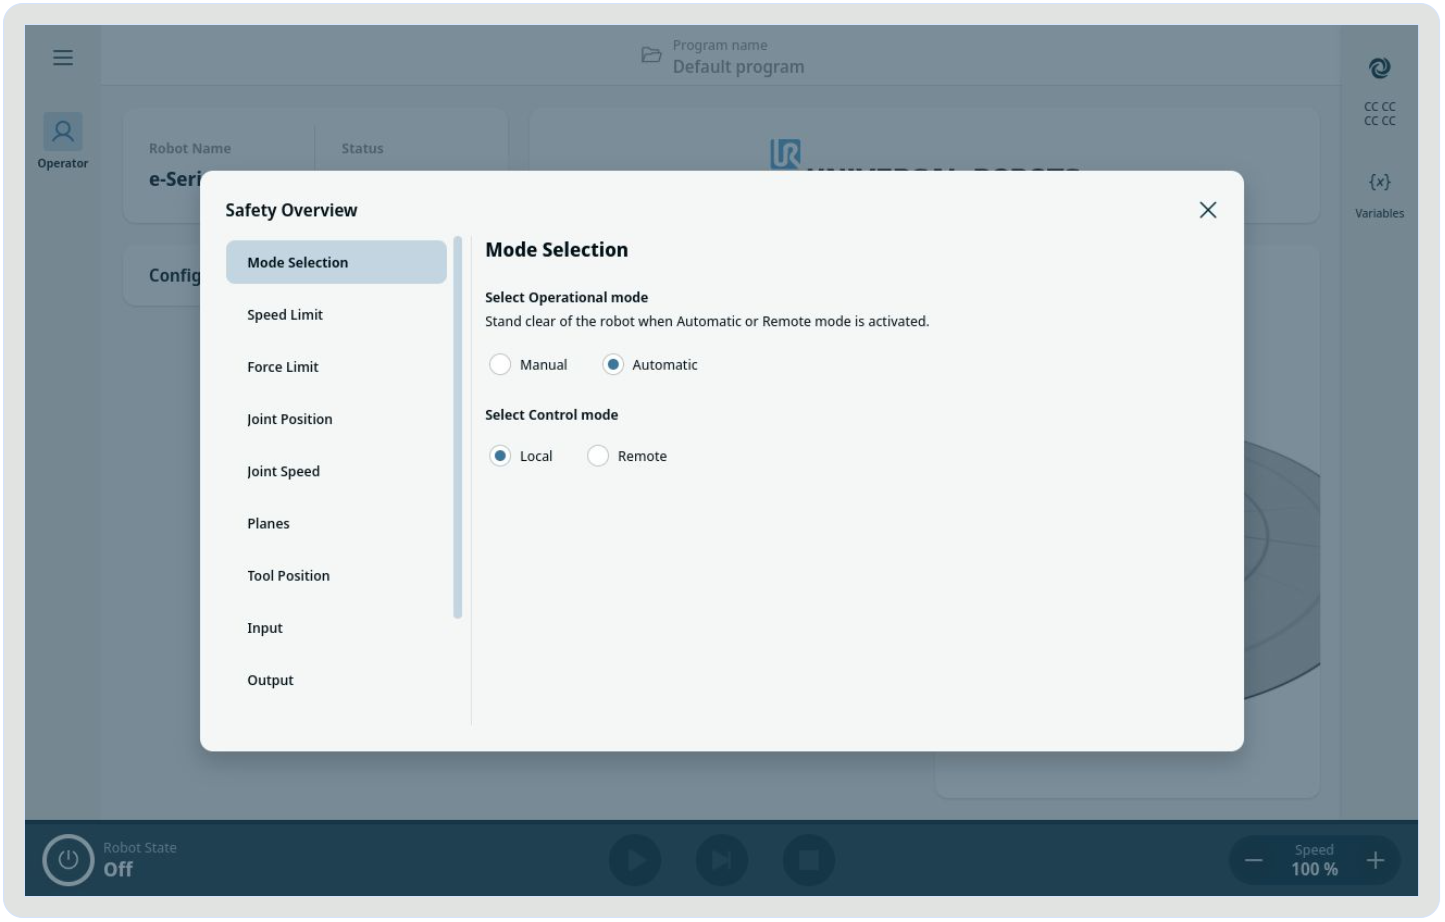
In order for PolyScope to install a URCap from remote, it needs to be in External Control. In the output from the Remote debug hold Ctrl button and press the Open Chrome remote DevTools link. Now you can press the top right corner to set the control mode. Select the Automatic:
You will be prompted for the operator password. Default is operator.
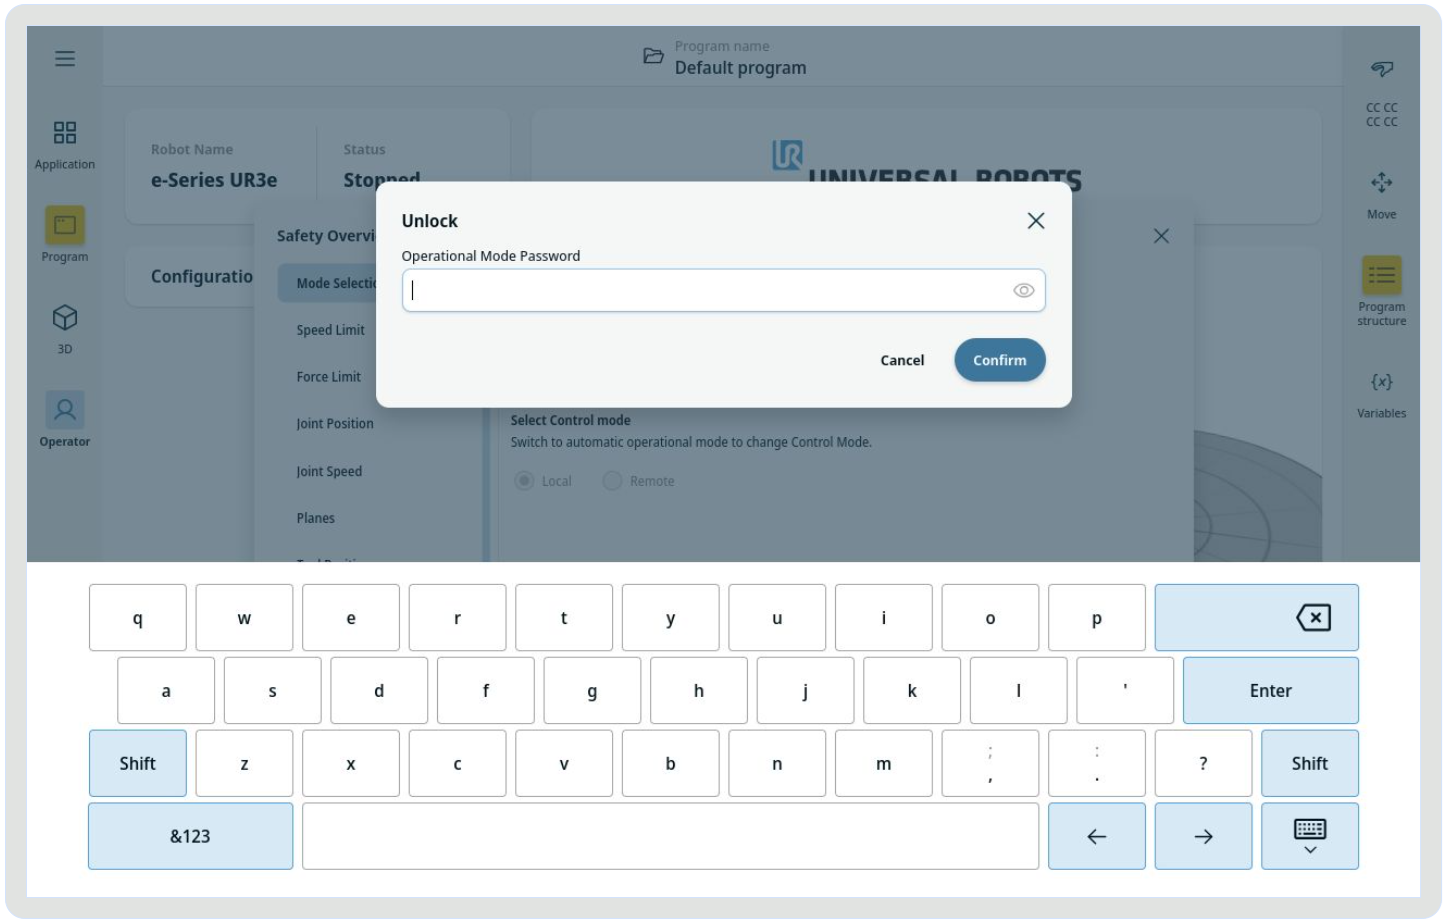
Afterwards you can select the Remote. PolyScope is now ready to accept a URCap installation.
Live update
This can be achieved by using the devUrl property in the manifest.yaml file.
For frontend applications, it will enable hot-reloading of the frontend code based on changes to the HTML and TypeScript.
Insert devUrl in manifest.yaml
In manifest.yaml, in the webArchive artifact section, add a devUrl property. Since the Remote debug script has established a tunnel, it can be reached on localhost. Example below is what it would look like for the
gripdistance sample
webArchives:
  - id: gripdistance
    folder: gripdistance
    devUrl: http://localhost:4200/
Build URCap
We now need to build the URCap. First step is to install the dependencies. Open a new terminal and run
npm install
Now the URCap can be built with
npm run build
In order to make the live update work, the Angular server should now be started
npm run start
The server will now monitor any changes and recompile for every change. Open a new terminal for next actions.
Deployment
Now the URCap needs to be installed with
npm run install-urcap [-- --host <HOST_IP>] [-- --port <PORT>] [-- --force-replace]
Debug
In the browser you can now select Local Control Mode and Manual Operational mode and evaluate the URCap functionality. When you make and save any changes in the URCap source code, the Angular server is detecting them and recompiling, the browser will detect the update and refresh automatically.