PROFINET on Polyscope X
Note
This guide was tested on Polyscope X 10.13.0 and Siemens TIA Portal V19.
Some images are very detailed. To see the full image, right-click and open in a new tab.
Setup
1. Enable PROFINET on the robot:
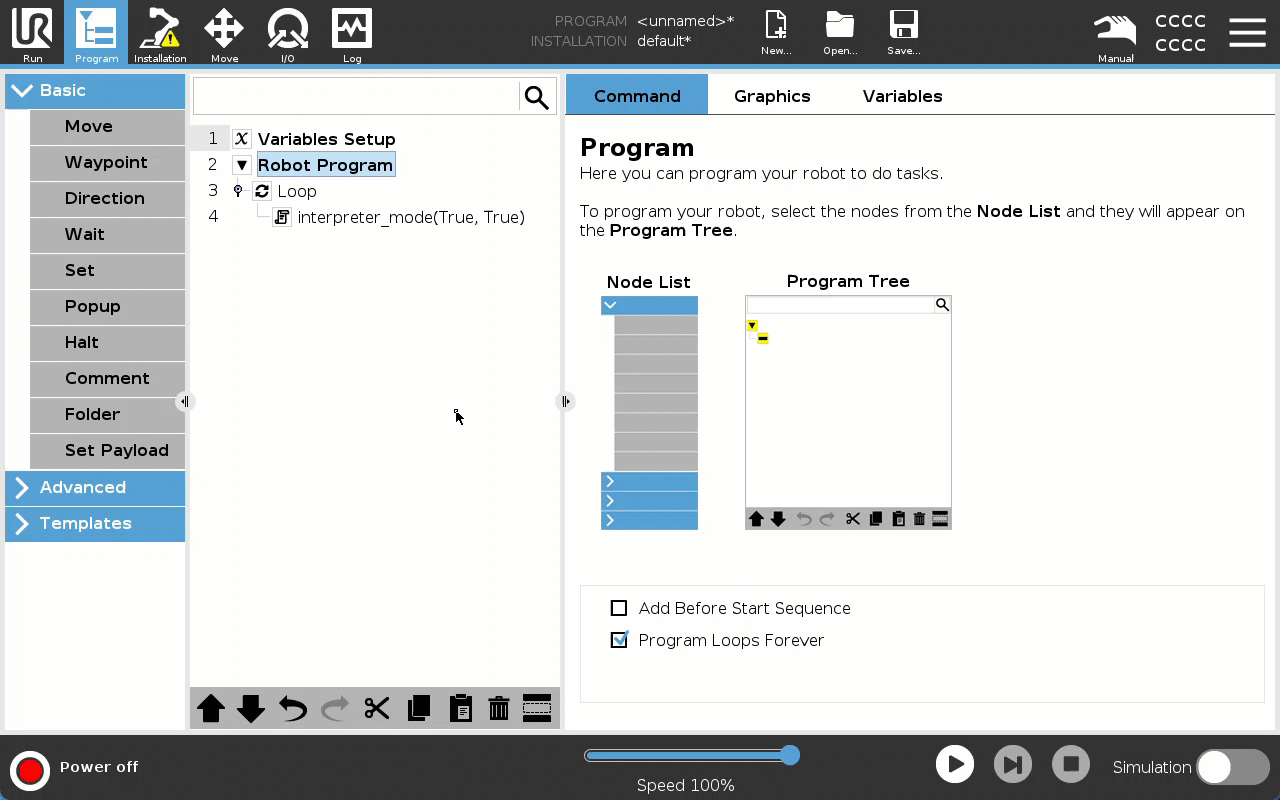
On the robot, go to the menu → Settings → Services → enable “Profinet device”
Check that PROFINET is running in Application → Communication → Profinet.
If it says “No Scanner”, Profinet is running, but the robot is not connected to anything yet.
2. Find your robot’s MAC-address:
Robot creates a virtual network interface for PROFINET, which is used to communicate with the PLC. This interface has a different - dynamically generated - MAC-address than the one used for the robot’s normal network interface.
MAC address is visible on the PROFINET page in Application → Communication → Profinet.
Note
The robots MAC-address changes every time the robot has a new software version flashed.
PLC should discover new MAC-address automatically after update.
3. Set robot PROFINET device name in TIA Portal
Open TIA Portal and make a new project.
Go to Project view.
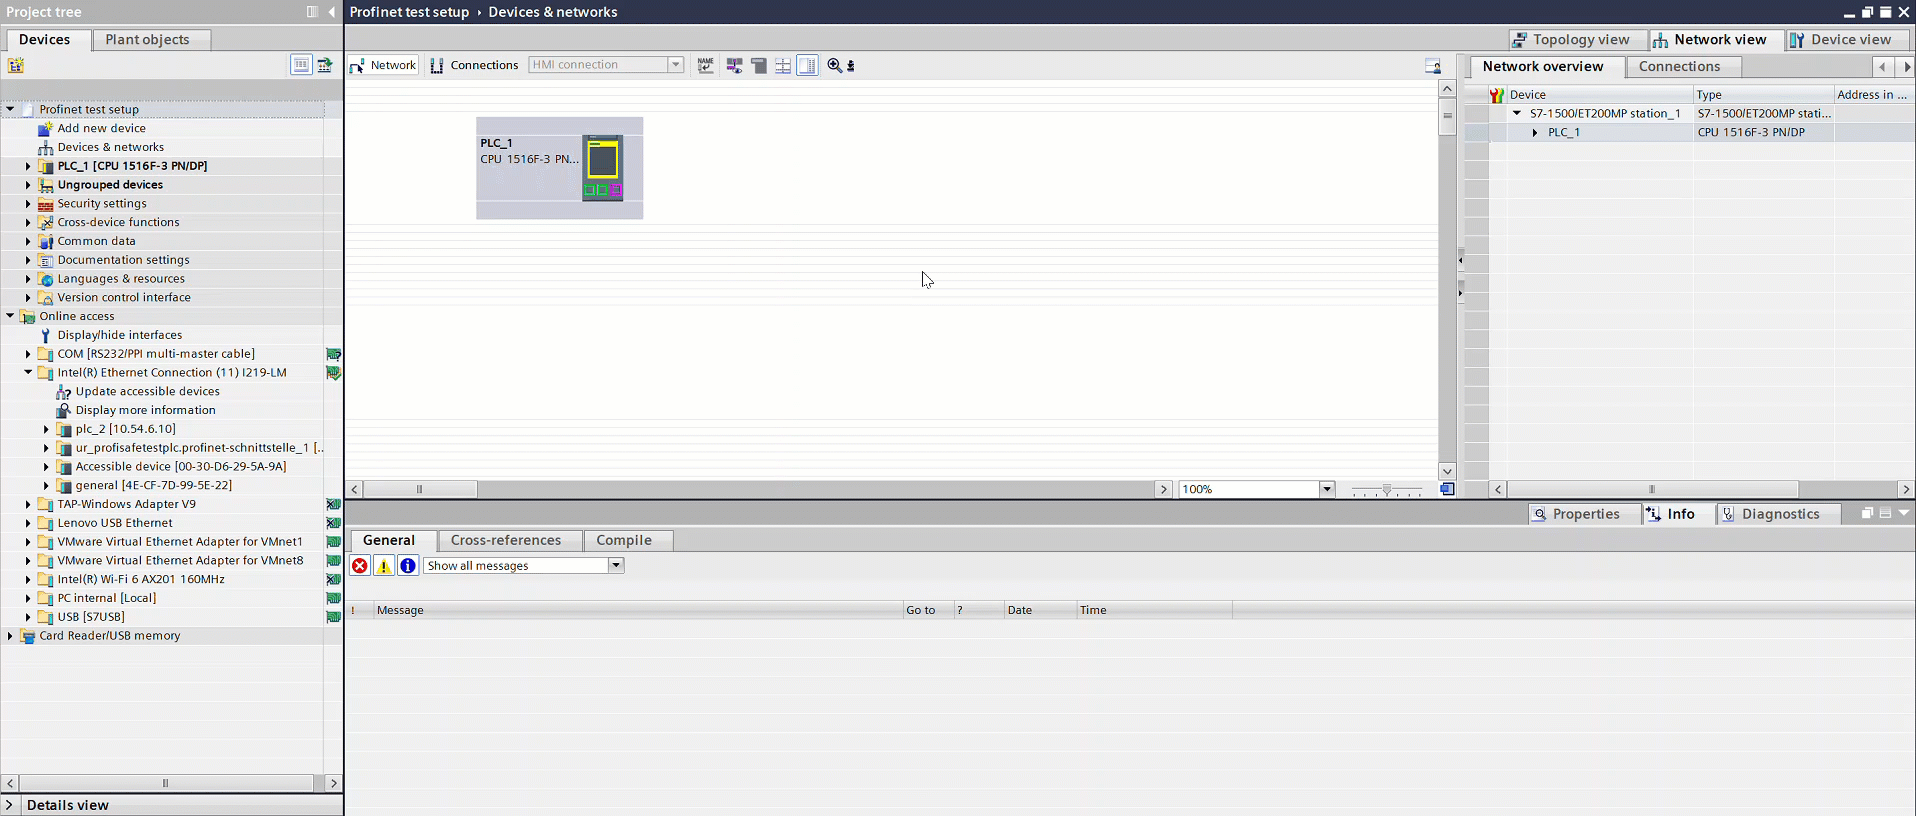
Make sure the PLC is connected locally with your PC.
In the project tree (left sidebar), go to “Online access” → <Your network adapter> → “Update accessible devices”.
Open the tab of the robot (Based on its MAC-address) → click “Online & diagnostics” → Assign IP address.
Click “Functions” → “Assign PROFINET device name”.
Type a name for the robot.
Scroll down and press “Assign name”.
Now the device name should be visible on the robot in Application → Communication → Profinet.
Note
Do not assign any IP-address for the robot yet.
Note
Remember to do step 6 for the PLC as well. However, it is important to assign an IP-address to the PLC.
4. Add Universal Robots GSD file:
Download Universal Robots GSD file from here.
In the title bar in TIA Portal, go to “Options” → “Manage general station description files (GSD)”.
Browse for the folder with the GSD file in.
Select the GSD file and install it.

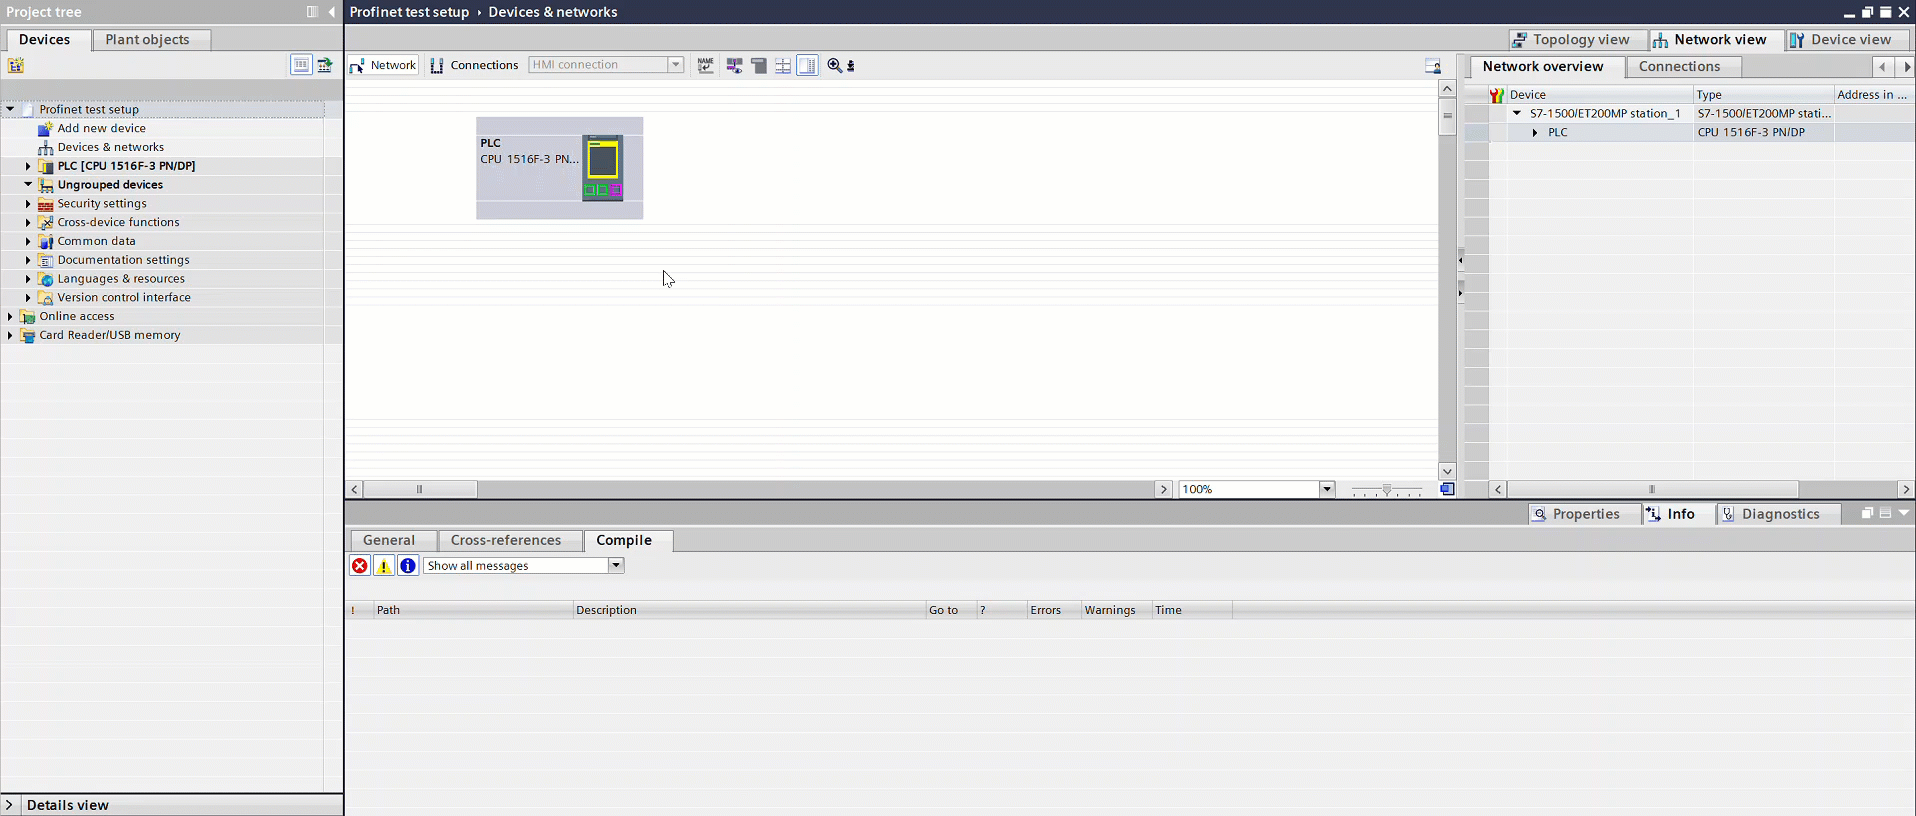
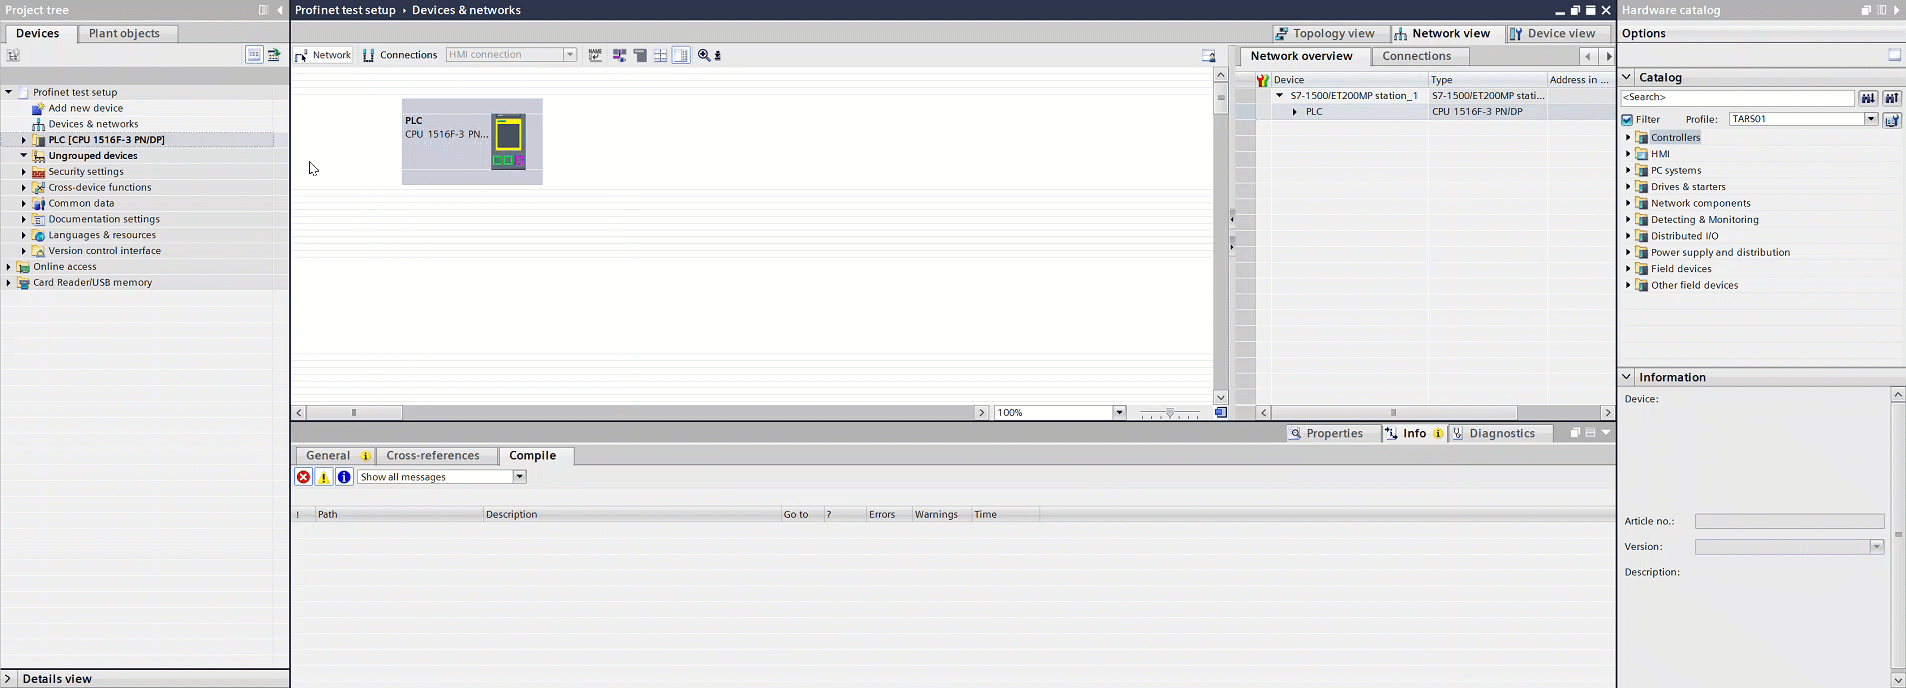
5. Add PLC to network and configure it:
Adding the PLC:
In the project tree (left sidebar), go to “Devices & networks”.
Go to Catalog (right sidebar) and Find your PLC.
Select the right firmware version in “Information” below and drag & drop the PLC into the network from “Catalog”.
Follow the setup to your preferences.
Configuring the PLC:
Right click the PLC you added in the network and press “Properties”.
(Optional) Go to “General” and name the PLC you inserted in the network (Does NOT have to be the same name you assigned in “Online access”)
Go to “Fail-safe” and press “Disable F-capabilities”.
Note
F-capabilities is used in PROFIsafe, which this guide will not cover. If not disabled or configured right, it will introduce errors.
Go to “PROFINET Interface [X1]” → “Ethernet addresses” → insert IP-address, subnet mask and router if used.
Note
Do not add a new subnet yet.
Still in “Ethernet addresses”, scroll down to “PROFINET” → Uncheck “Generate PROFINET device name automatically” and type in the same PROFINET device name as the one assigned to the online device.
6. Adding the Universal Robots UDT file.
Download the Universal Robots UDT file from here.
In the project tree, go to your PLC → “External source files”.
Double-click the “Add new external file”.
Locate the downloaded “UR_Datastruct.udt” file and press “Open”.
Right-click the added UDT file in “External source files” and press “Generate blocks from source”.
Press “OK” if a pop-up appears.
The generated blocks should be visible in “PLC data types”.
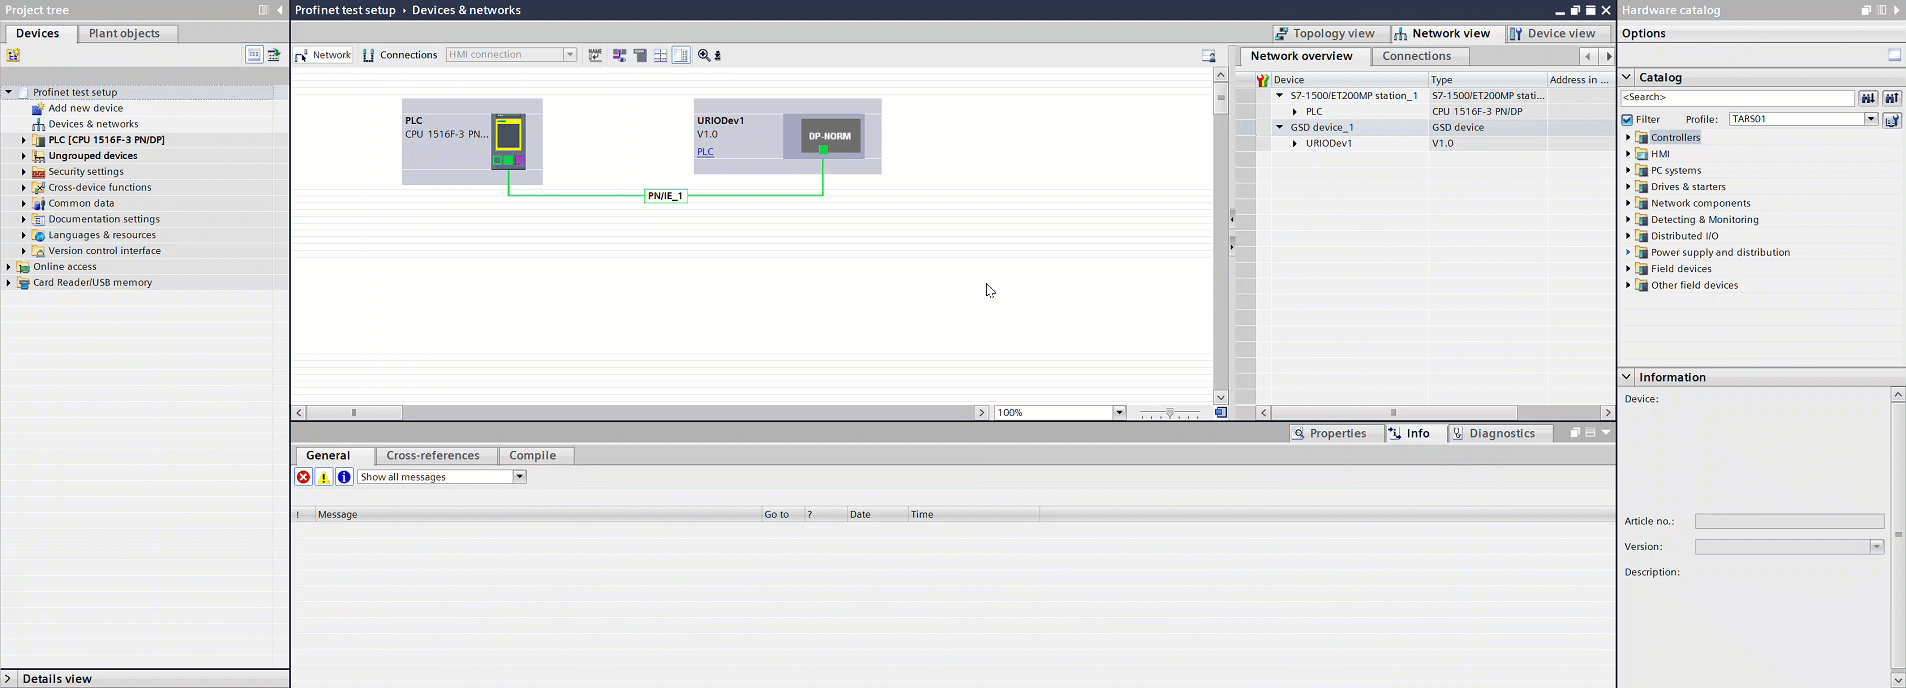
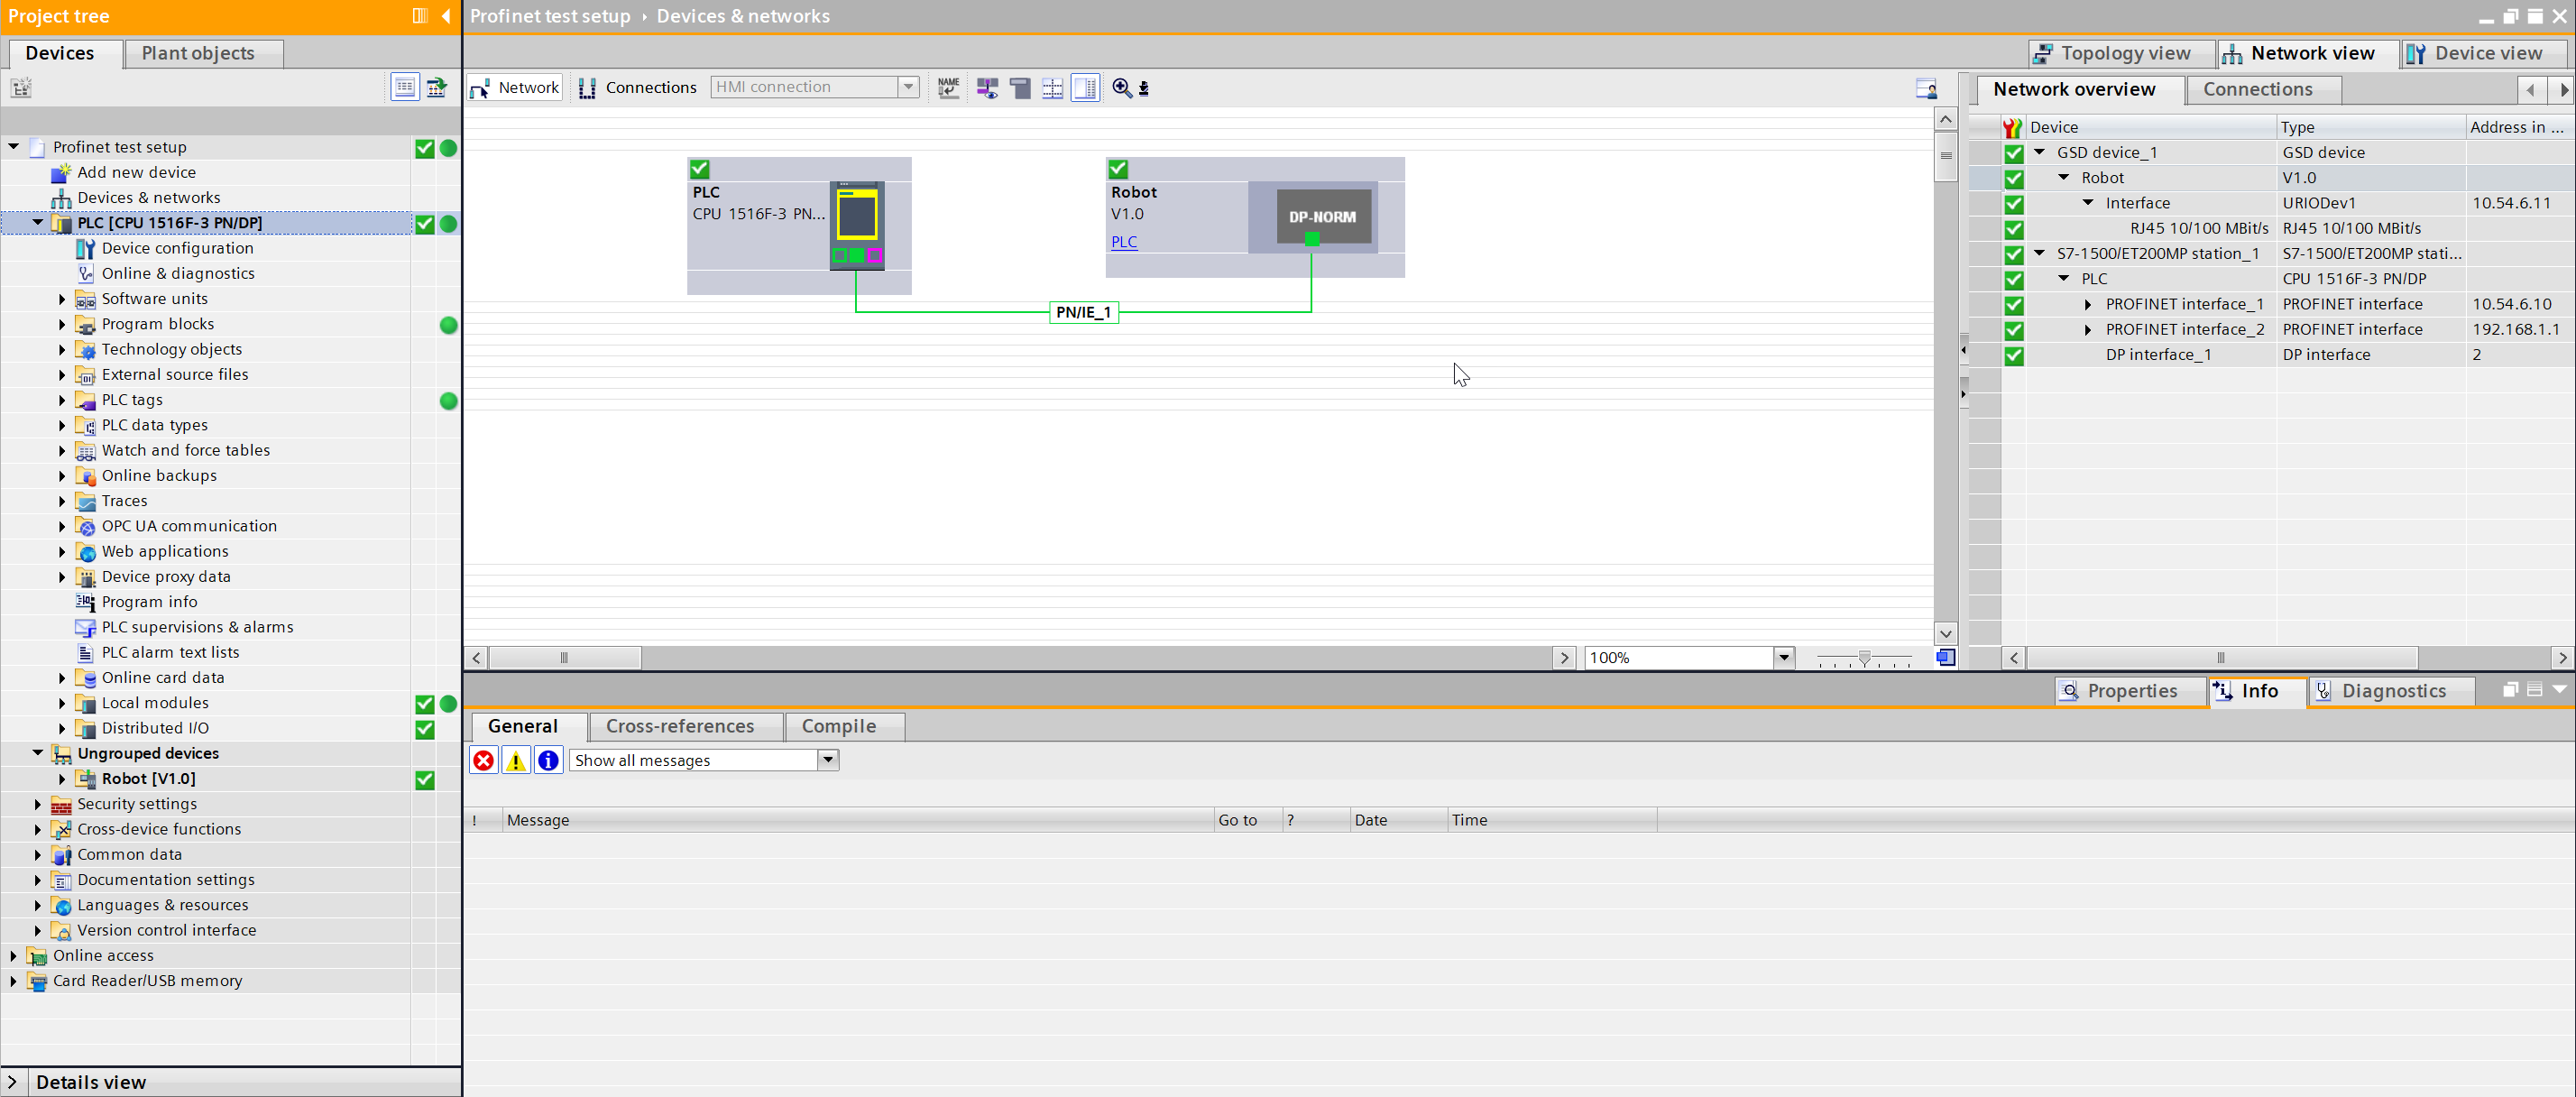
7. Add robot to network and configure it
Adding the robot:
Go to “Devices & networks” → “Hardware catalog” → “Other field devices” → “PROFINET IO” → “I/O” → “Universal Robots A/S” → Collaborative Robot.
Drag & drop the V1.0 device into the network.
Drag a line from the green square on the Universal Robots GSD (URIODev1) into the green box in the middle of the PLC, to connect them.
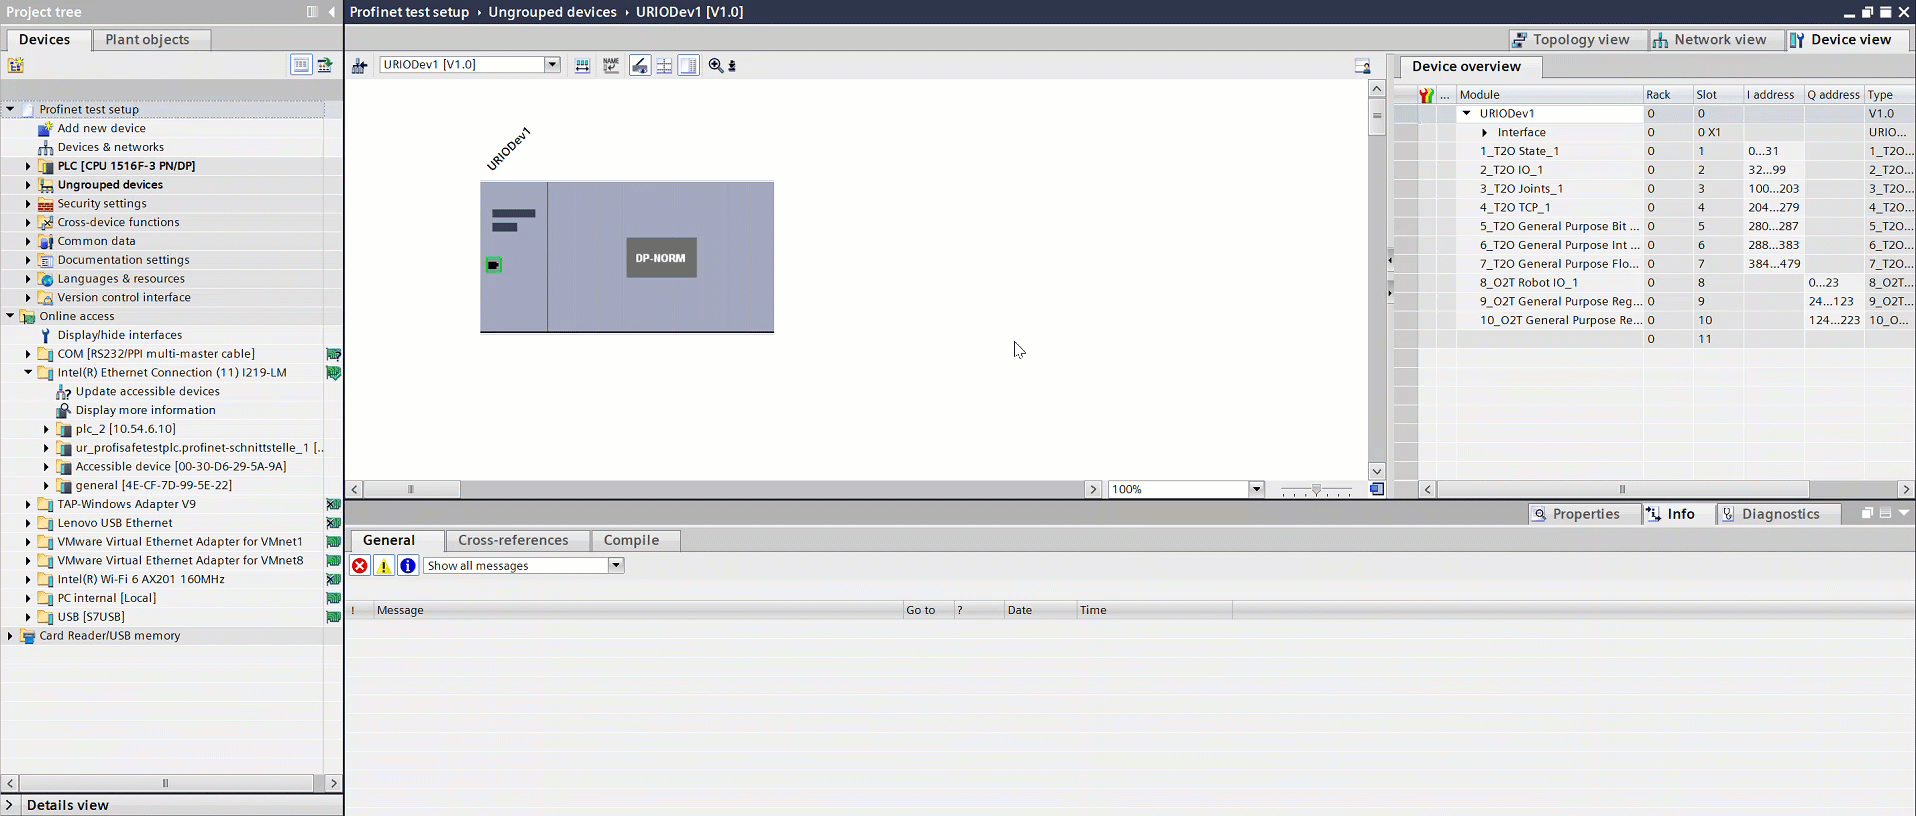
Configuring the robot
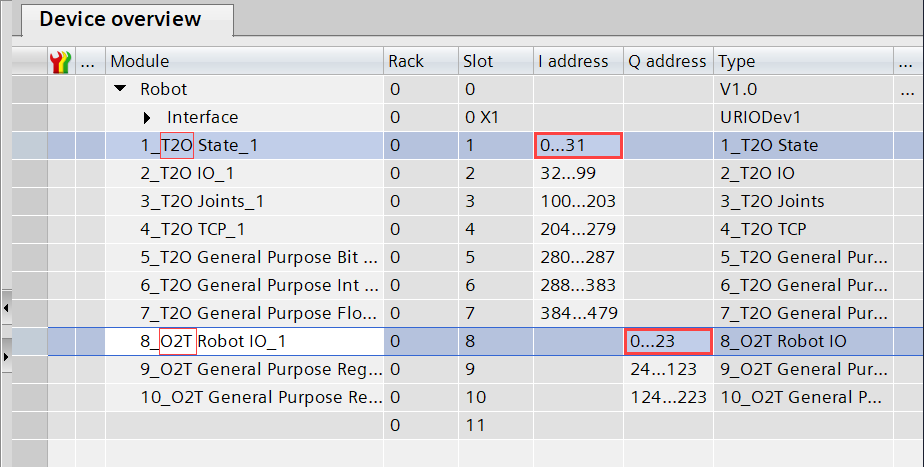
Insert modules
Mark the “DP_NORM” Universal Robots GSD (URIODev1), and press “Device view”.
Delete the “PROFIsafe_1” module in slot 11.
Go to “Hardware catalog” and unfold “Module”.
Drag and drop the modules 1-10 in ascending order, into the respective slots on the robot.
After all modules are inserted into the slot the “I address” in slot 1 should start with 0…31 and end in slot 7 with 384…479.
The “Q address” in slot 8 should start with 0…23 and end in slot 10 with 124…223 .
Note
All of the modules do not have to be inserted as in this example. If less modules are inserted/more robots are in the project, it only important that the I-addresses and Q-addresses are ascending from the lowest slot number to the highest.
Configure IP-address
From “Devices & networks” or still in “Device view”, right click the Universal Robots GSD (URIODev1) and press “Properties”.
(Optional) Go to “General” and name the PLC you inserted in the network (Does NOT have to be the same name you assigned in “Online access”).
Go to “PROFINET interface [X1] → “Ethernet addresses” and enter the robots IP-address and subnet mask.
Note
The IP-address assigned to the robot HAS to be different than the IP-address that the robot already has.
This is due to PROFINET being a separate container on the robot.
Make tags that utilizes the IO modules of the robot:
In the project tree, open your PLC → “PLC tags” → “Default tag table”.
Make 2 new tags.
Name 1 tag “PLC_to_UR” and the other “UR_to_PLC”.
Make the data type of “PLC_to_UR” =
UR_T2Oand the address =%I0.0(Or the first input address of module 1 on the robot).Make the data type of “UR_to_PLC” =
UR_O2Tand the address =%Q0.0(Or the first output address of module 8 on the robot).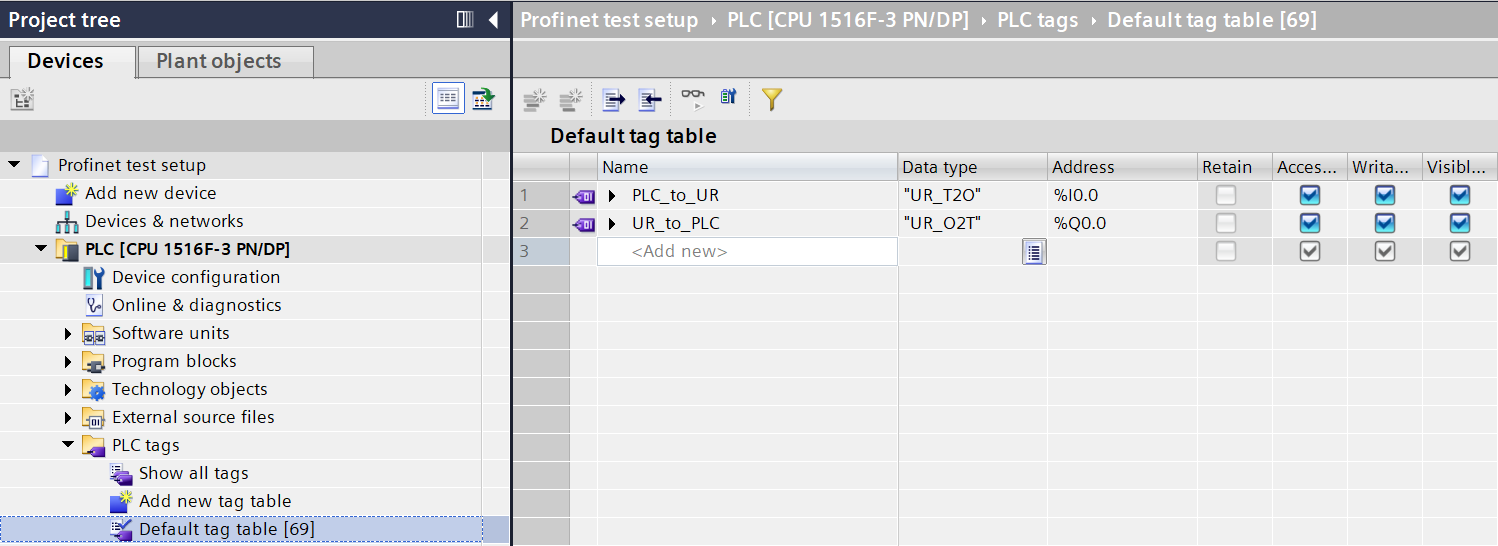
Compile and download configuration to PLC
In the project tree, right-click the PLC → “Compile” → “Hardware (rebuild all)”.
In the project tree, right-click the PLC → “Compile” → “Software (rebuild all)”.
In the project tree, right-click the PLC → “Download to device” → “Hardware configuration”.
Note
If asked to power on device, press “No”.
In the project tree, right-click the PLC → “Download to device” → “Software (all)”.
Note
If asked to power on device, press “Yes”.
If not asked to power on, mark the PLC in the project tree and turn on PLC.
Check wether devices has been configured right:
In the toolbar, press “Go online”.
Everything should be green, meaning there is no error.
Everything is now configured!
More information
More information about PROFIsafe can be found in Profisafe guide