Auto Annotation for object detection
Warning
The AI Accelerator requires ROS 2 Humble, so PolyScope X 10.12.1 is the latest compatible release. PolyScope X 10.13 and later use ROS 2 Jazzy and are not currently supported.
The training ui is designed for auto annotation. It allows you to record a video from the camera aimed at a part you wish to detect, annotate the first frame of the video selecting the part you wish to train, propagate the annotation through the video, and create a coco file for training a detection model.
Steps to launch Auto annotation UI
cd pandai_ark/ros && ./scripts/run_sdk_setup.sh
Inside the container run ./scripts/run_tool_auto_annotation.sh
This will launch the Console UI as well as the Auto Annotation tool

Instructions to use Auto Annotate UI
To start/stop recording a video press “R”. Record a video showing the part from multiple angles. Make sure the part is in view when you start recording. While recording, either move the part or the camera. Try not to block the view of the part with your hands or anything else. Make sure the video is short, less than ~10 seconds, or the annotation process can take a long time (1h+).

To load the last recorded video press “L”. If at any point you wish to resume the live feed, press SPACE.
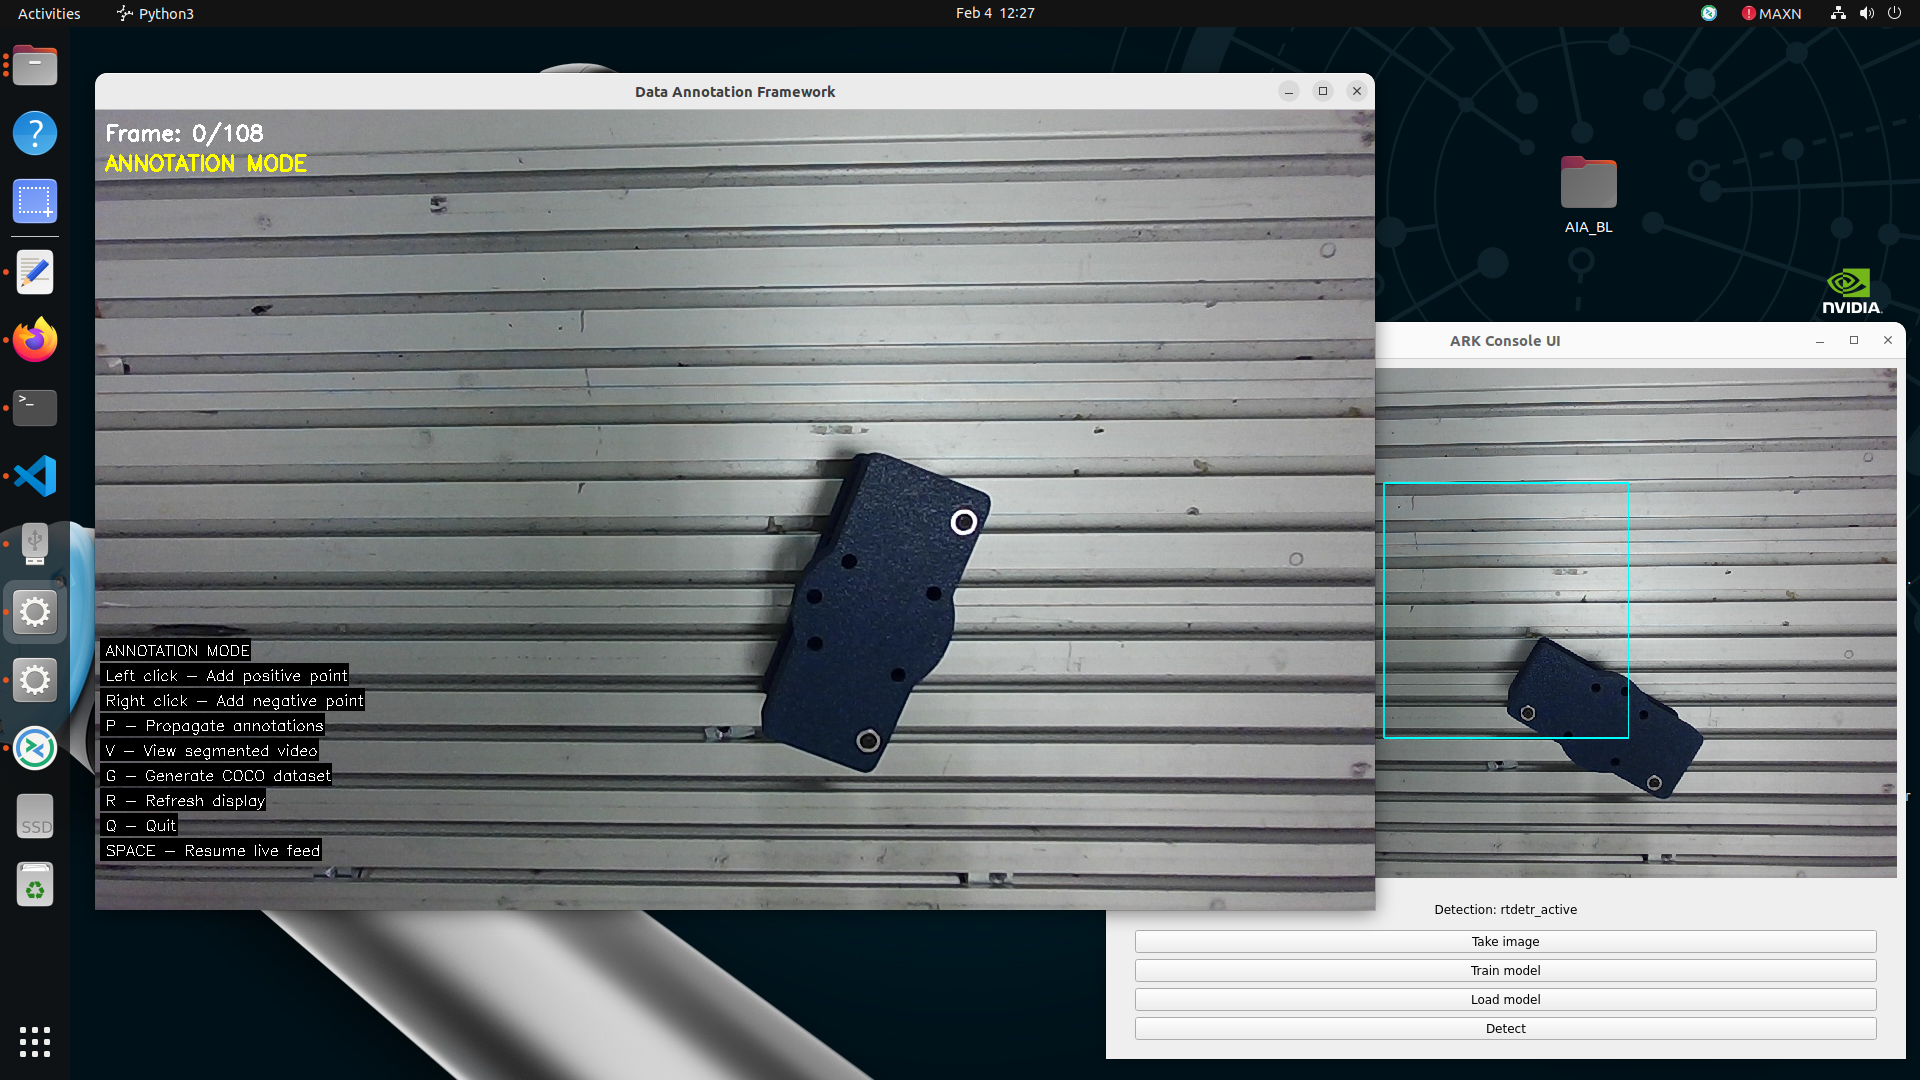
Once the video is loaded, you should see the first frame of the video. Start annotating after loading a video by left clicking on your part. Left clicks create “Positive prompt points”, indicating that this is the part to detect, Right clicks create “Negative prompt points” marking an area that is not the part to detect. If the highlighted area includes an area that goes beyond your part, right click on that area to exclude that area from your annotation. if you click somewhere accindentally or wish to remove a point, click on it again to remove it.

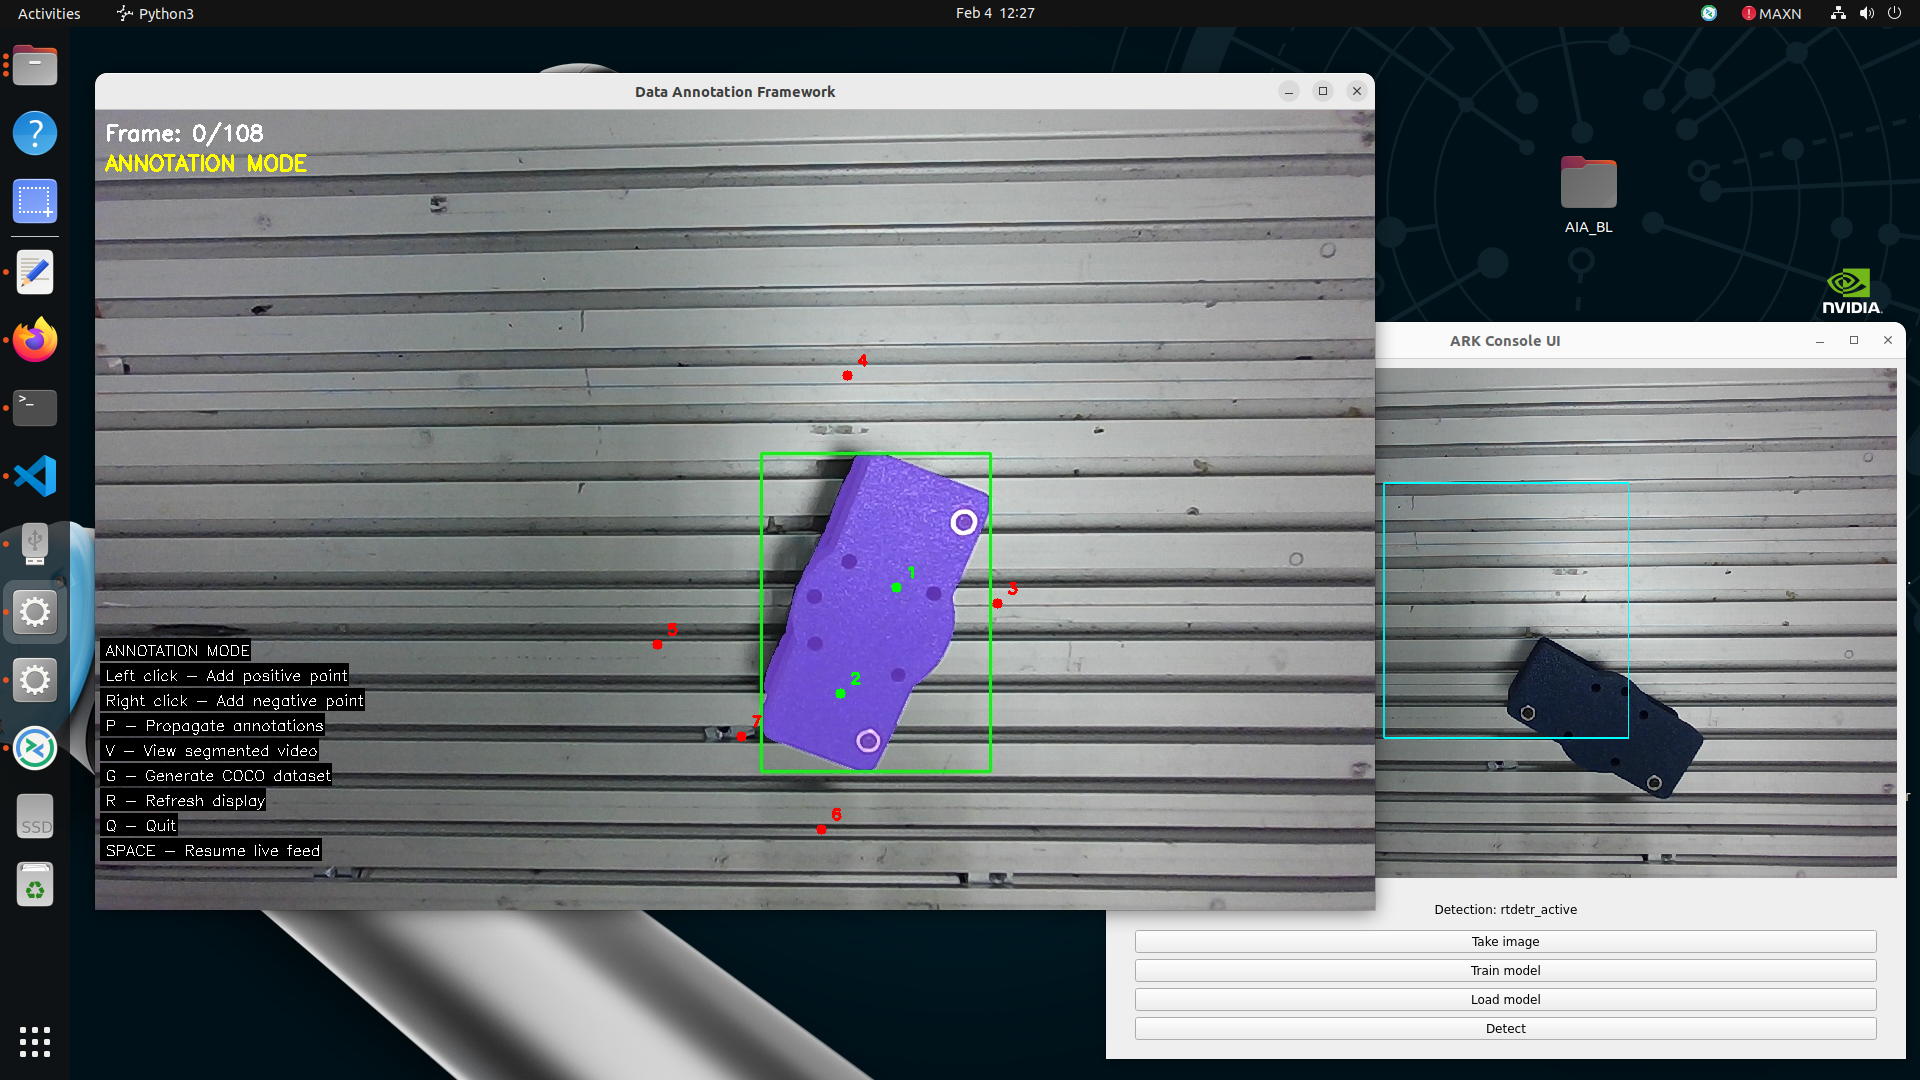
Once the part highlight encompasses the part to your satisfaction, and there are not any areas falsely indicated, press “P” to propagate the annotations through the video. This step can take a few minutes.
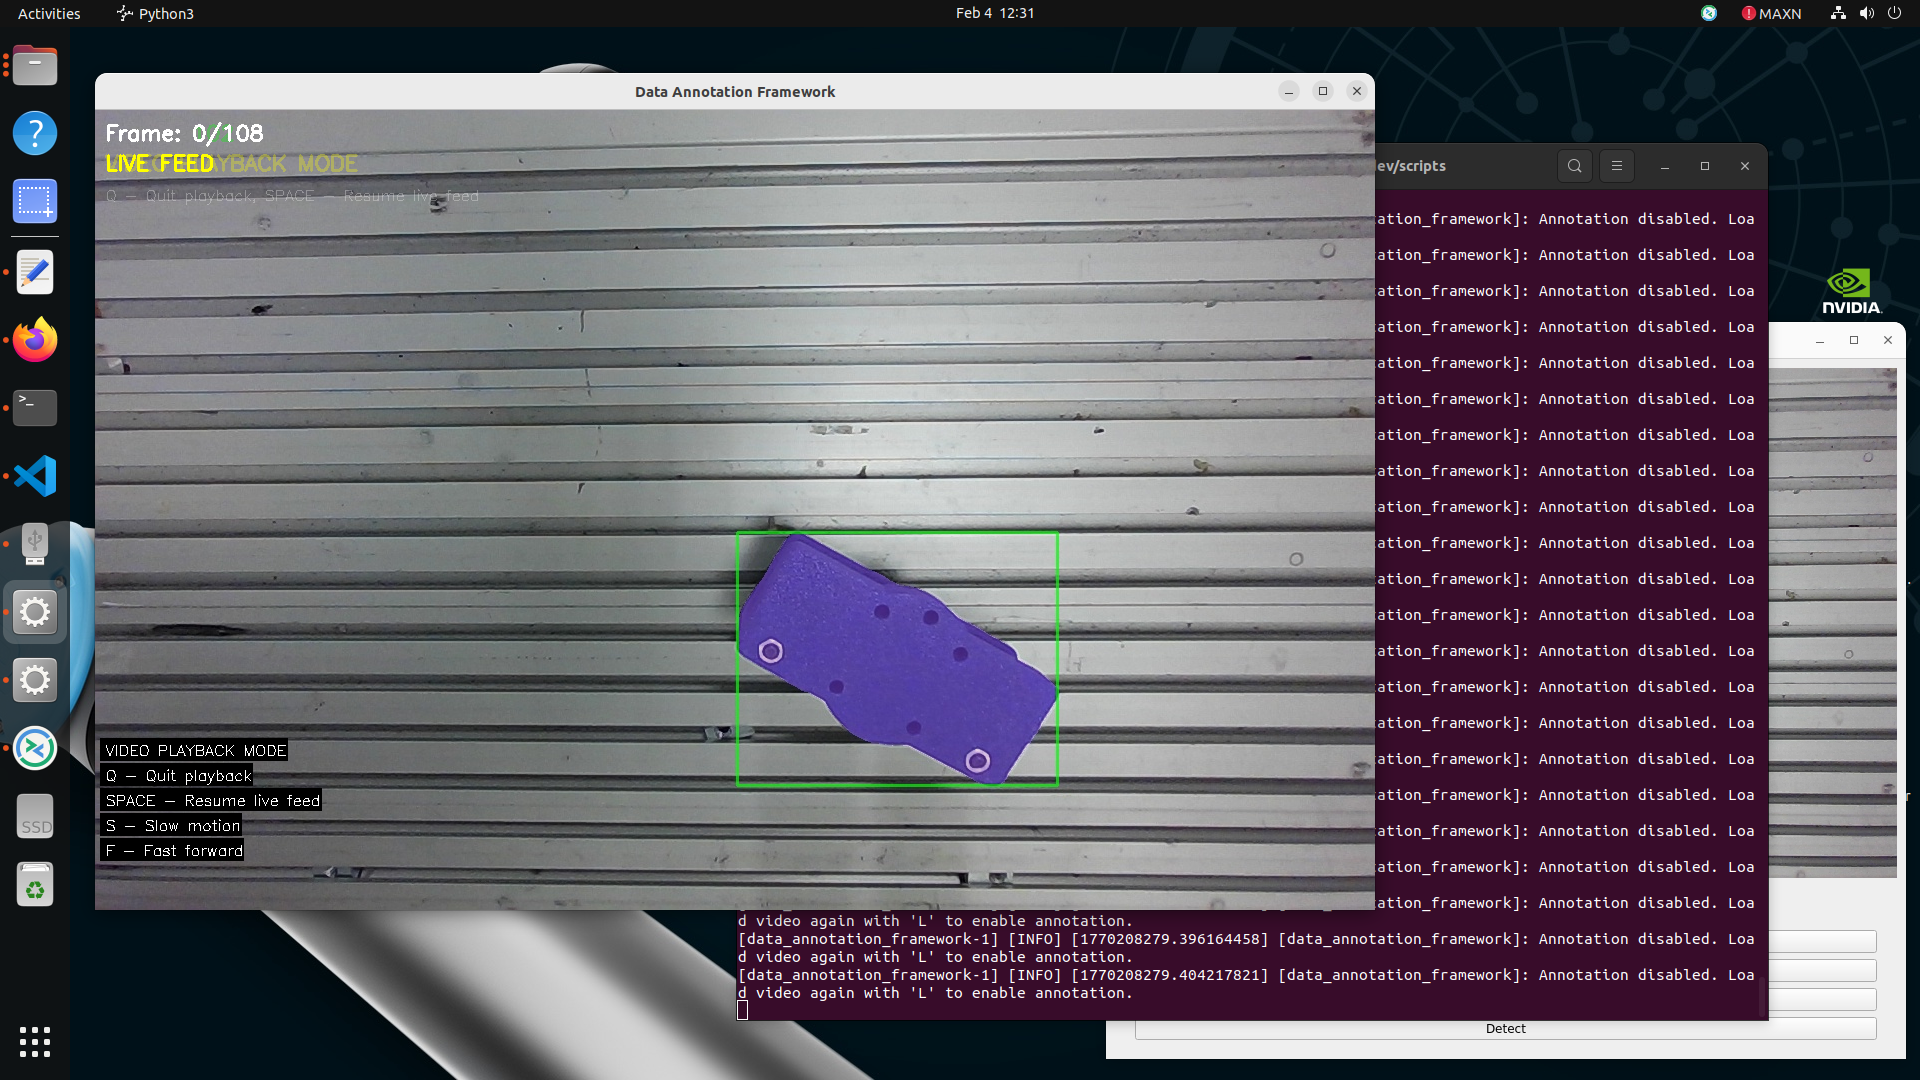
Press “V” to view the segmented video, and make sure that the highlight encompasses the part throughout the video.
Press “G” to generate the coco file. It should be saved in the rtdetr_active folder inside data. This step takes some time.
You can now go back to the Detection example page to train, load and test your model.