Home
Warning
The AI Accelerator requires ROS 2 Humble, so PolyScope X 10.12.1 is the latest compatible release. PolyScope X 10.13 and later use ROS 2 Jazzy and are not currently supported.
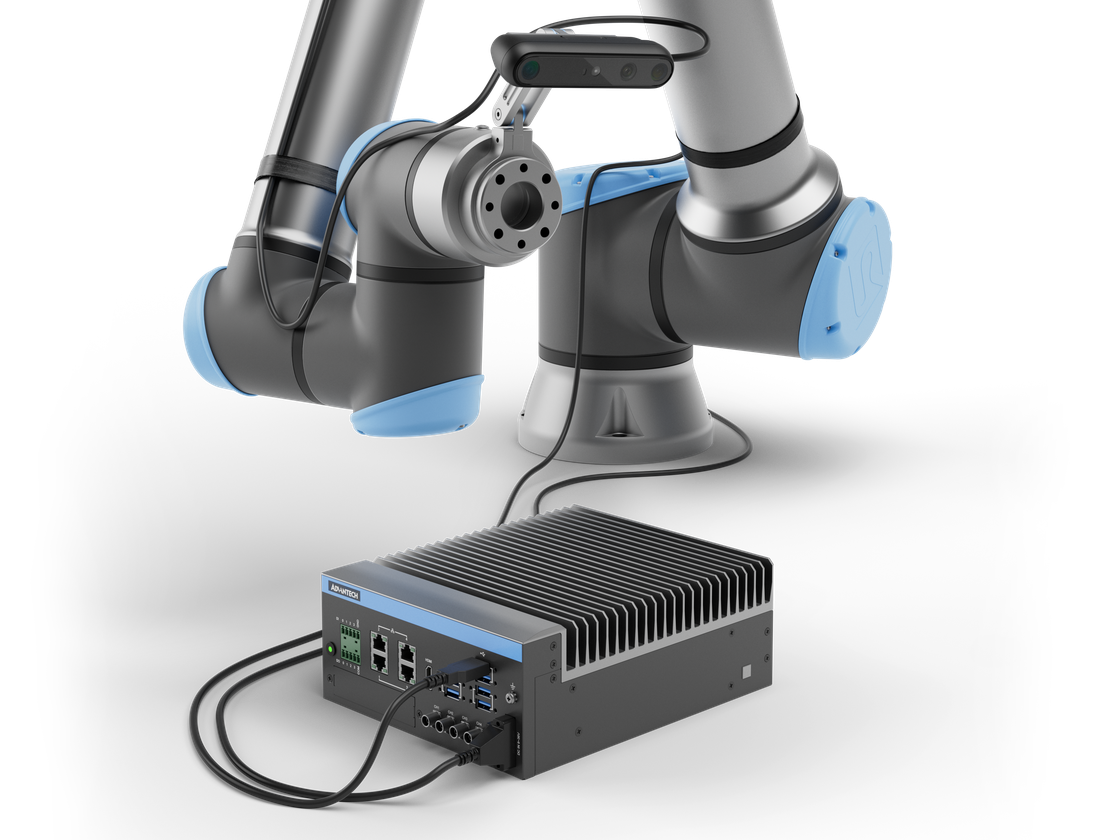
AI Accelerator hardware kit — UR cobot with Orbbec Gemini 335Lg camera and embedded NVIDIA Jetson Orin AGX 64GB compute box.
The AI Accelerator is a combined hardware and software platform that enables faster AI development on UR robots.
It creates a bridge between Universal Robots’ PolyScope X platform and NVIDIA’s Isaac ROS platform running on the embedded NVIDIA Jetson Orin AGX 64GB compute box.
PandaI is built as detect → pose → plan → move.
With plentiful examples and new API functionality for interacting with the NVIDIA system directly from the robot teach pendant, it is easier than ever to add enhanced perception and AI capabilities to your cobot solution.
Product overview: universal-robots.com/products/ai-accelerator
What’s in the box
Compute module |
3D camera |
|---|---|
|
|
Embedded NVIDIA Jetson Orin AGX 64GB compute box |
Orbbec Gemini 335Lg 3D vision camera |
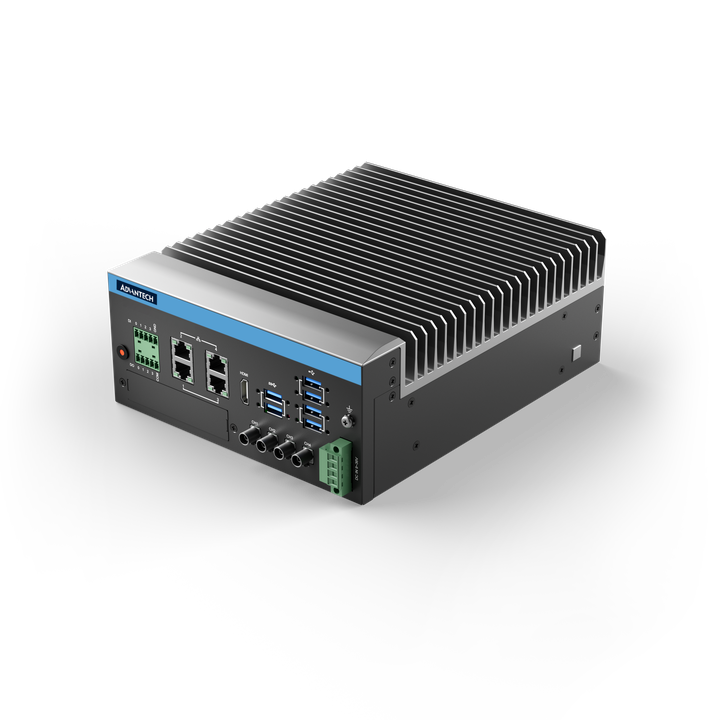
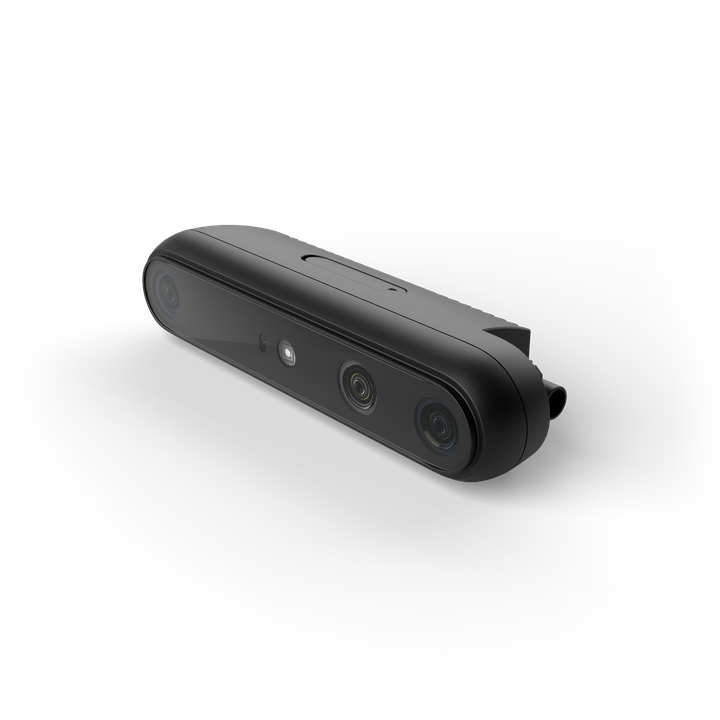
Host login: username lab, password easybot. Default IP on 2.x: 192.168.0.100 (see SDK).
Also included: camera bracket and flange extender, cabling and cable guidance, flyer and manual, and USB cable (GMSL available separately / soon).
Getting started
Follow these pages in order. Skip any step that does not apply to your setup.
Hardware Manual — unpack and wire the AI Accelerator, robot, and camera.
Update PolyScope X to 10.12.1 — install the latest compatible robot OS (USB
.wic+ Rufus). Skip if the controller is already on 10.12.1. Do not install 10.13 or later.Centercode — get downloads and check whether the compute module is on 1.x or 2.x.
Upgrade from 1.x — only if the version check shows you are still on 1.x. If you are already on 2.x, skip this page.
GMSL — optional: switch the Orbbec camera from USB to GMSL.
SDK — install the three URCapX packages on the robot, install the SDK
.debon the compute module, and enter the Docker container.Jetson compute utilities — CPU/GPU load, temperature, power mode, and other host commands on the compute box.
Orbbec Viewer — optional: install Orbbec’s camera GUI on the compute box to check RGB/depth before ROS.
Tools — annotation, Console UI, and RViz.
Examples — run the included demos.
URScript API — program perception and planning from PolyScope X.
Troubleshooting — common setup and runtime issues.
For a reference view of the software components and how they connect, see How PandaI uses NVIDIA Isaac, AI Accelerator Core, and Camera Creator.
Contents
- Hardware Manual
- Update PolyScope X to 10.12.1
- Centercode
- Upgrade from 1.x
- GMSL
- SDK
- Jetson compute utilities
- Orbbec Viewer
- Tools
- Console UI
- Auto Annotation for object detection
- End-to-end flow (summary)
- Steps to launch
- Stage 1 — Record video frames (R)
- Stage 2 — Load the recording (L)
- Stage 3 — Annotate the first frame
- Stage 4 — Propagate annotations (P)
- Stage 5 — Review segmentation (V)
- Stage 6 — (Optional) Regenerate COCO (G)
- Stage 7 — Train model (Console UI → Train model)
- Stage 8 — Load model (Console UI → Load model)
- Stage 9 — Test detection (Console UI → Detect)
- Path cheat sheet
- Clean up files and retrain
- Keyboard reference (Auto Annotation UI)
- Common issues
- Using RViz
- Utility scripts
- Manual Annotation (DEPRECATED)
- Examples
- URScript API
- Troubleshooting
Platform reference