Manual Annotation (DEPRECATED)
Warning
The AI Accelerator requires ROS 2 Humble, so PolyScope X 10.12.1 is the latest compatible release. PolyScope X 10.13 and later use ROS 2 Jazzy and are not currently supported.
Note
This page describes the manual annotation process using a 3rd Party Online Tool from v1 of the AI Accelerator. In v2 this is deprecated and it is recommended to use the Auto Annotation for object detection.
We first need to manually prepare training data, using approximately 60 images of an object. For each image, a bounding box of an object needs to be indicated. The images must then be split in to training and validation sets.
The following steps are explained in subsequent sections:
Capturing the images
Preparing the training set
Preparing the validation set
Training the model
Testing results
To capture the images
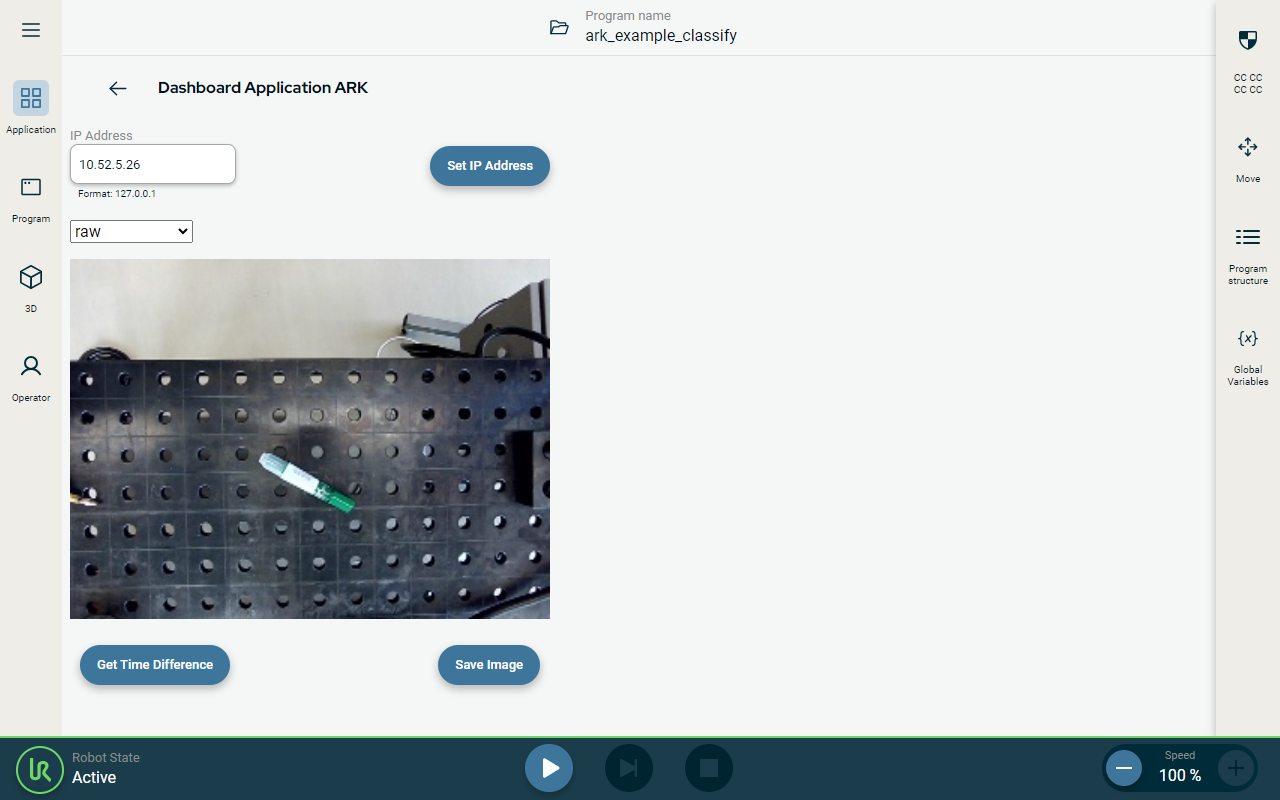
Record images using AI Accelerator SDK URCapX. Every time you tap Save Image, the current camera view is saved as PNG image in a folder pandai_ark/ros/data/images on Compute module.
To prepare the training set
Open the web browser on the compute module and navigate to MakeSense.ai. This publicly available web site helps to label and annotate images.
Click Get Started and upload 80% of your images.
When the upload is complete, click Object Detection.
You need to specify labels for the objects you want to be recognized. Click the labels list and define at least one label. Name the new label
object_1. You can define multiple labels and map multiple objects on a single image, as well as multiple instances of the same object.Click Start project.
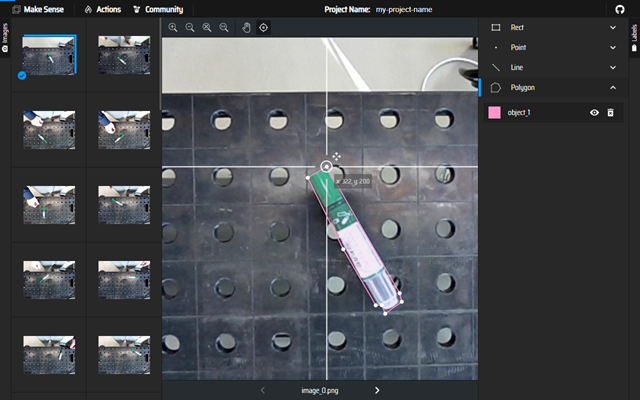
Specify a bounding box for each image. Use the polygon tool and click points to map the bounding box.
Select object label for this new polygon.
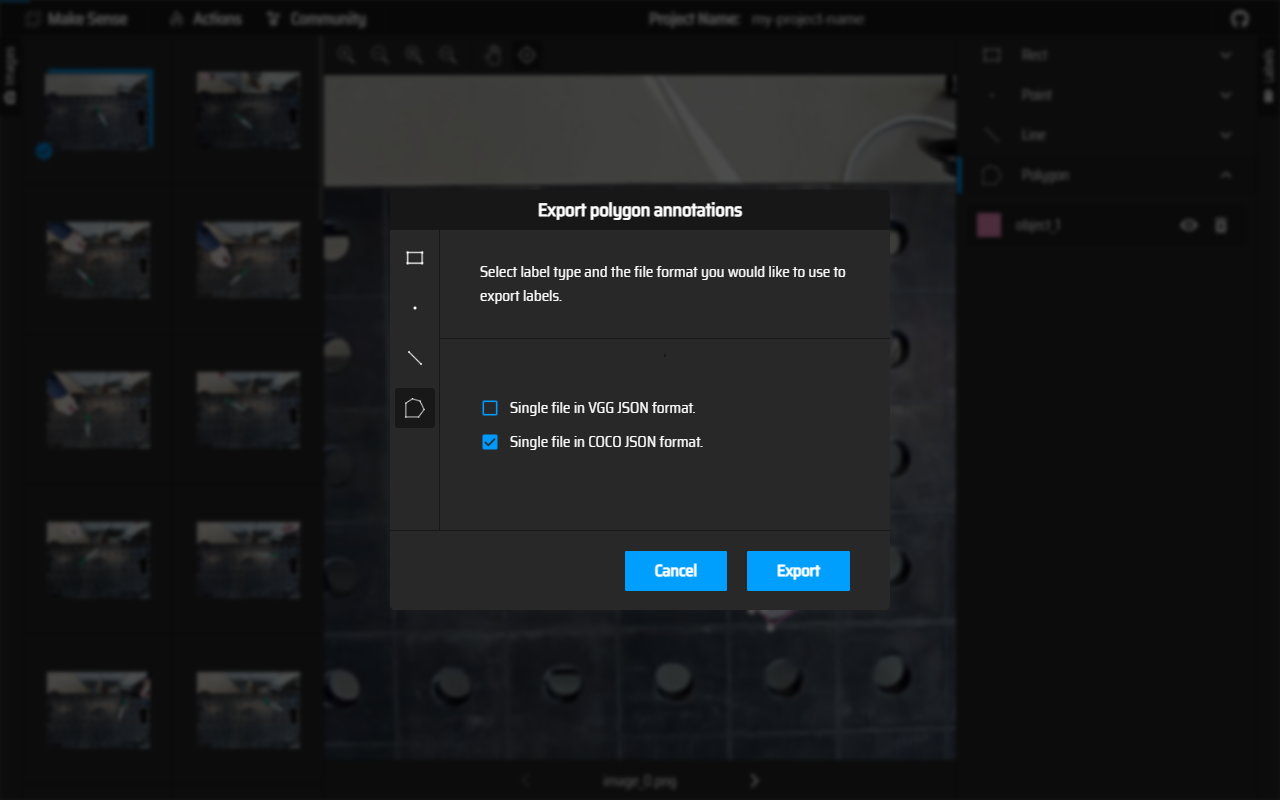
Once you annotate all the images in the training set, click Actions and Export Annotations.
Select Single file in COCO JSON format and click Export.
Save the exported file to Downloads.
Inside the /ros/data/datasets create folder rtdetr_active
Inside create “train” folder and copy images of the training set and downloaded coco json file in here. Rename json file to coco_train.json
The training data consists of a combination of the JSON file and images.
To prepare the validation set
Repeat the above steps to create the validation set. Starting with uploading remaining 20% of the images to MakeSense.ai
Make sure to use the same label as in the training set.
Create folder validation inside the rtdetr_active
Rename downloaded coco json file to coco_validation.json and copy it together with the images from validation set in to the validation folder.